Your charger is an absolute lifeline for your device – without it, you can’t charge your phone or laptop! But, unfortunately, charger cables are fragile and prone to breakage, leading to a potential frustration that could take hours of searching to a fix.
Here in this article will provide an overview of the most common ways of fixing a broken charger with tips on how to prevent it from happening again. We’ll also look at some simple DIY repairs and replacements so that you can fix your broken charger and get your device back up and running in no time.
Reasons Why a Charger Stops Working
There are several reasons why a charger may stop working:
- The charger or the charging port on the device is physically damaged or clogged with dust.
- The charging cable is frayed or broken.
- The charger is not compatible with the device.
- The device’s battery is damaged.
- The power outlet or USB port being used is not working properly.
- The charger is not getting enough power from the outlet.
- The device is experiencing software issues.
Also Read: How To Remove Bloatware From OnePlus Devices?
How To Fix A Broken Charger
If your charger is broken, don’t despair! There are a few ways you can try and fix your broken charger yourself.
A broken charger can be a frustrating and inconvenient problem, but it is often one that can be easily fixed with some basic troubleshooting steps. Here are a few tips on how to fix a broken charger:
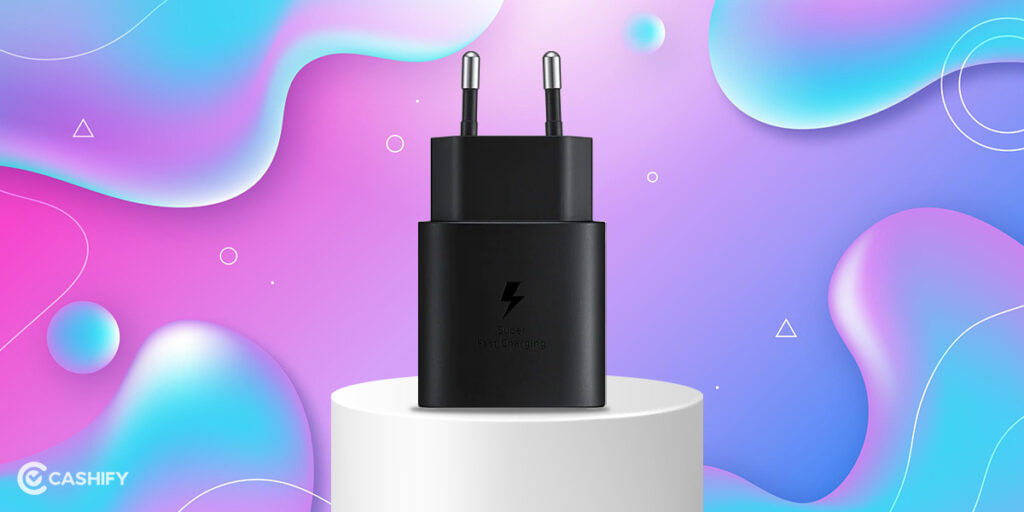
1. Check the plug
The first thing to check is if the plug of the charger is working fine. Make sure that it is properly inserted into the outlet or power strip. If the plug is loose or not fully inserted, this could be the cause of the problem. Also, check the charging pins and make sure all the pins are intact and in perfect shape.
2. Check the outlet
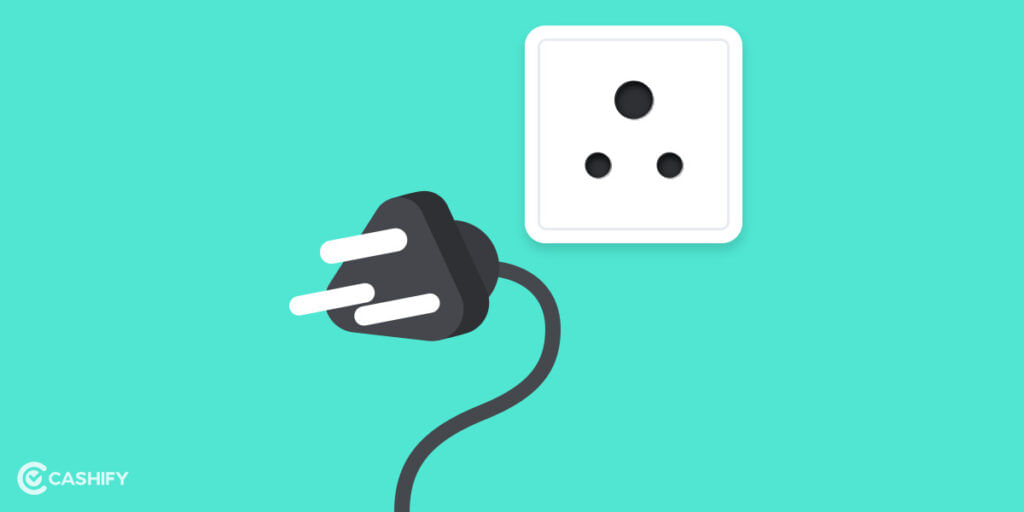
If the plug is properly inserted, the next step is to check the outlet itself. Make sure that the outlet is working and that there is power flowing to it. You can test the outlet by trying in a different device, such as a lamp, to see if it turns on.
3. Check the cable
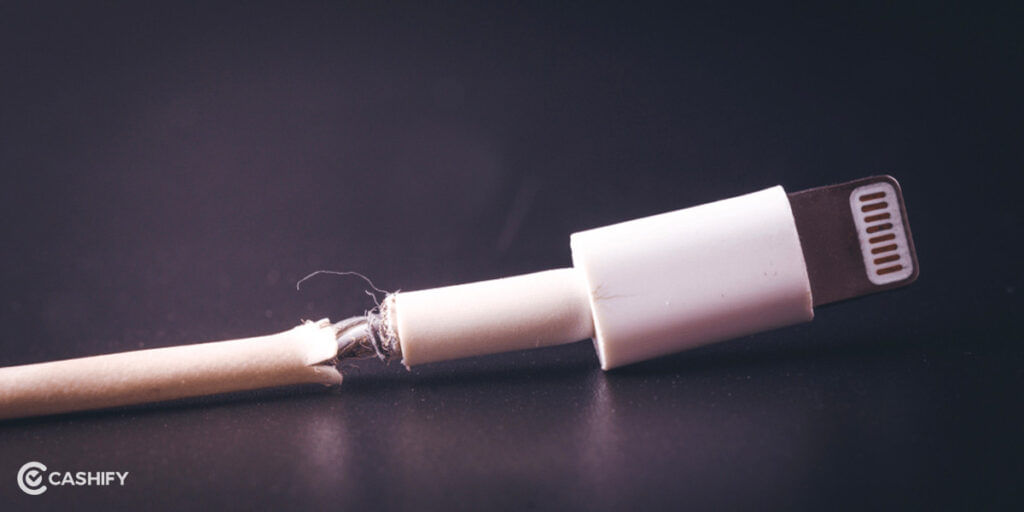
If the plug and outlet are both fine, the next step is to check the cable. Make sure that the cable is not frayed or damaged in any way. If it is, it will need to be replaced and this can be easily done now since all chargers come with a separate cable and power brick.
4. Check the device
If the cable is fine, the next step is to check the device that the charger is supposed to be charging. Make sure that the device is functioning properly and that the charging port is not blocked or damaged. Also, try to reboot your device, this might fix the problem.
5. Check the charger
Finally, if all of the above steps have been checked and the charger still isn’t working, the problem may be with the charging brick itself. You can try a different charger to see if it works, or take the charger to a professional for repair or replacement.
If none of the above steps work, it’s probably best to contact the manufacturer of the charger or the device to get a new one or troubleshoot further.
Warning: In the case of damaged or bare wires, do not attempt to wiggle the cable. The result could be an electrical shock.
Also Read: Quick Tips To Charge A Phone Battery Efficiently
6. Clean USB Charging Port: Make sure to check the charging port for any visible damages or blockage due to dust accumulation. In case you find any dust clogs, take some rubbing alcohol and try cleaning with an earbud. If you find it difficult or this fix does not work. It’s always best to consult a technician and get it fixed.
7. Check the fuses: Fuse boxes often have flipped breaker switches. Flip them back. Switches in one column or row usually point in the same direction. When a fuse’s handle is pointed in the other direction, it’s been tripped. You need to reset the fuse associated with the outlet you are using. A springing sound is heard as it pops back into place.
What If The Charger Cable Is Damaged?
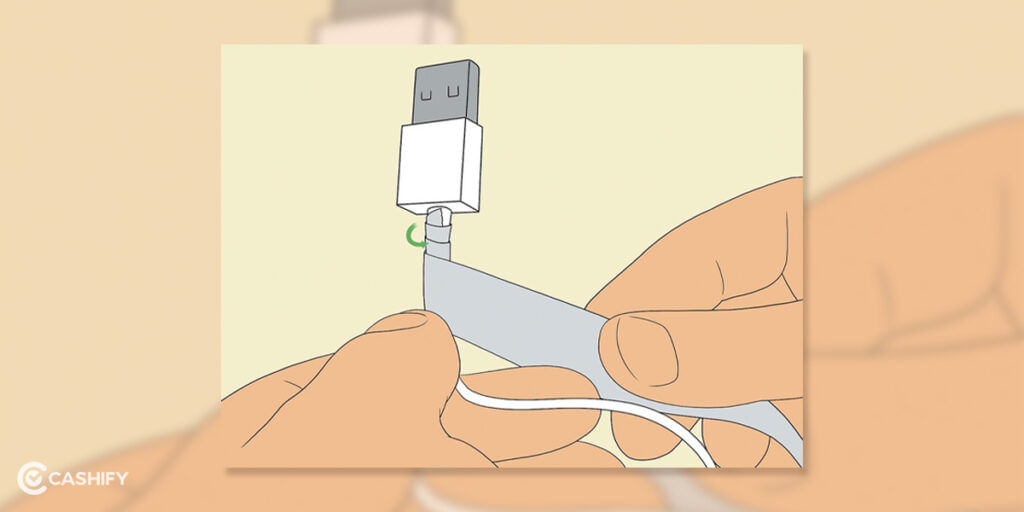
There are a few things you can try to fix a charger cable:
- Check the cable for frayed or bent wires. If you find any, try to straighten them out or cover them with electrical tape.
- Check the connectors on both ends of the cable, and make sure they are clean and free of debris.
- Try using the cable with a different device or plug to see if the problem is with the cable or the device.
- If the cable is still not working, you may need to purchase a new one.
It’s important to note that if the cable is visibly damaged and you can’t fix it, it’s best to replace it as it can be dangerous to use a damaged cable.
Also Read: Best Instagram Apps For Stories
Things to Do If Your Charger is Not Charging Your Device Fast
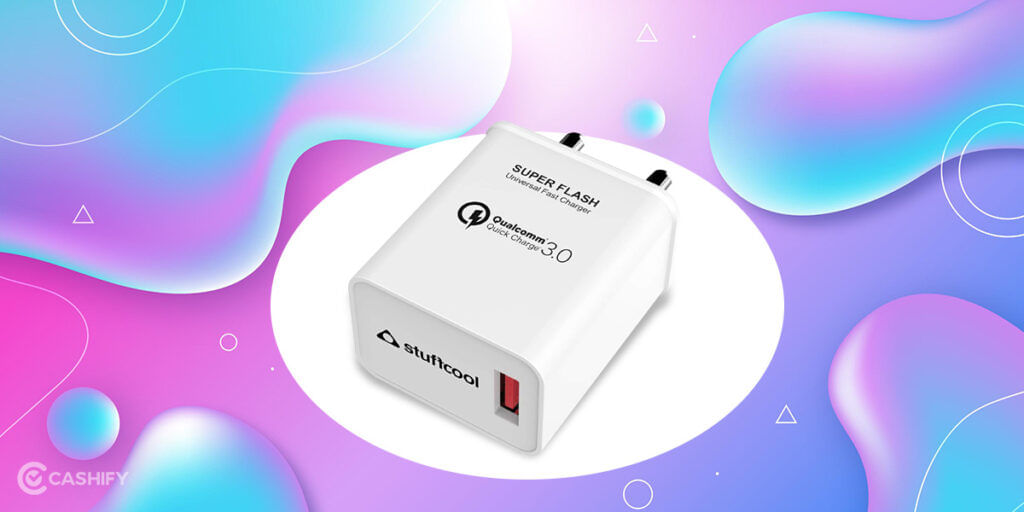
You can try the following steps if your charger is not charging fast enough:
- Make sure the device is not running any heavy processes or applications while charging.
- Try using a different charger or cable, as some may charge faster than others. For instance, if your device supports Quick Charge 3.0 technology, make sure the charger you are using supports it.
- Check that the device is properly configured to charge.
- Make sure the power outlet or USB port is working properly. If the problem persists, it may be time to replace the device’s battery.
- It is important to identify the specific problem in order to determine the best course of action, and if the problem persists after trying to fix it, it is better to buy a new charger or contact the manufacturer for assistance.


