For people working as a content creator or trying to complete an art project, or simply trying to show someone how things are working at your end, the option to record screen on a Mac can turn out to be an essential feature in such times. Sometimes we need something more than a screenshot, and sadly, our systems do not have any screen recording button that we can press and record easily. But, the users of Apple’s Mac have a great set of ways for recording what’s happening on their screen. This article will give you the best way on how to screen record on a Mac.
Contents
macOS Mojave Hotkeys:
Advantages: In-built app. No need to download third-party apps.
Disadvantages: No fancy tools to use.
Snagit:
Advantages: If you need to make screen recordings and annotated screenshots frequently
Disadvantages: Only supports trimming of videos.
QuickTime:
Advantages: Pre-installed on Mac.
Disadvantages: No tools for editing.
Camtasia:
Advantages: A must for professional content recorders and creators.
Disadvantages: Costly.
macOS Mojave to record screen
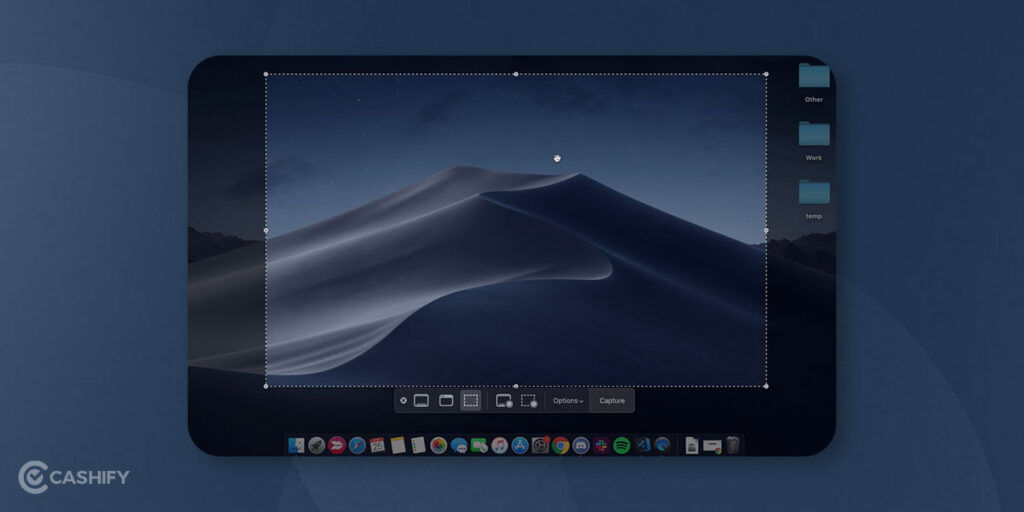
If you are using the macOS Mojave, then there is a set of hotkeys that you can press together to start with the screen recording. You simply need to press SHIFT+CMD+5 altogether, and you will see a border with a dotted line appearing.
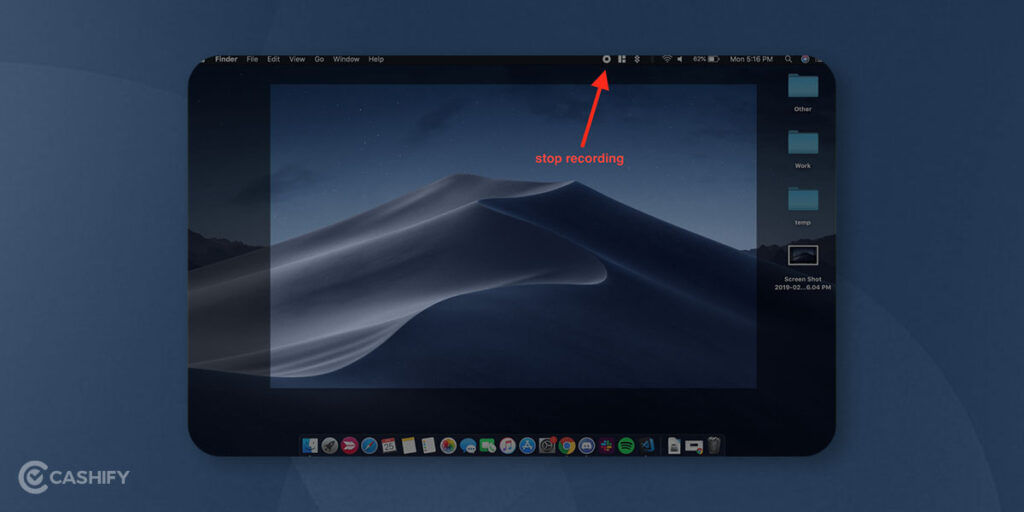
As you start seeing the border with a dotted line, you will have to select one of the two options shown for screen recording. You can either select the “Record Entire Screen” option or select the “Record Selection” option. After pressing either of the options, you will notice that the “Capture” button will change into a “Record” button, and now you can start your screen recording on Mac. Once the screen recording starts, you will notice that the areas not being recorded will blur out and fade away. You will see that only the recording area will be focused upon, but if you are recording the entire screen, you won’t need to worry about the unfocused area that tends to get blurred away. You will see that the stop button is located in the menu bar. Once you are done with the screen recording, you can simply press the stop button.
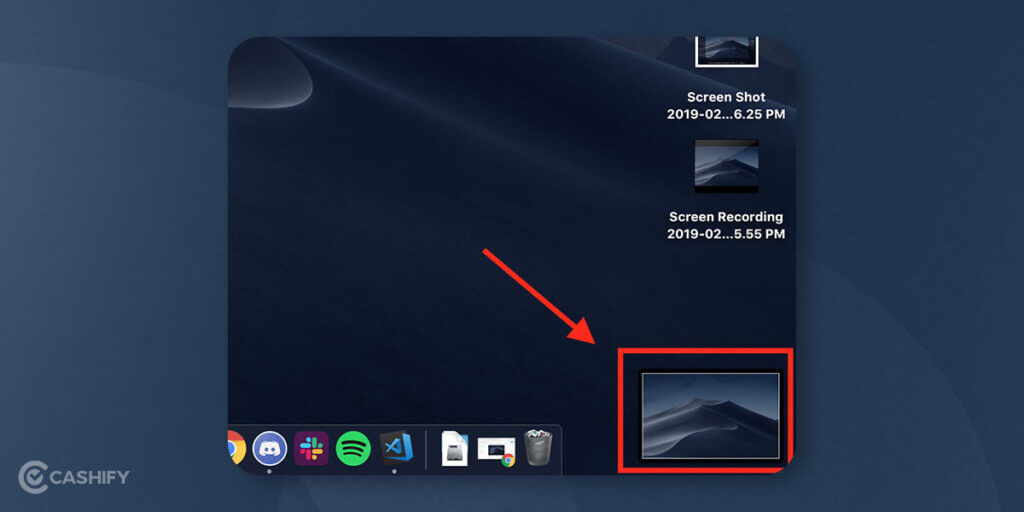
Once the screen recording is complete, your new window will pop in the bottom-right corner of your display. You need to click on this new window to come and witness the clip that was recorded. If you didn’t click on this new pop-up bar, you could navigate your recording by searching for it on your desktop, as it gets saved there by default.
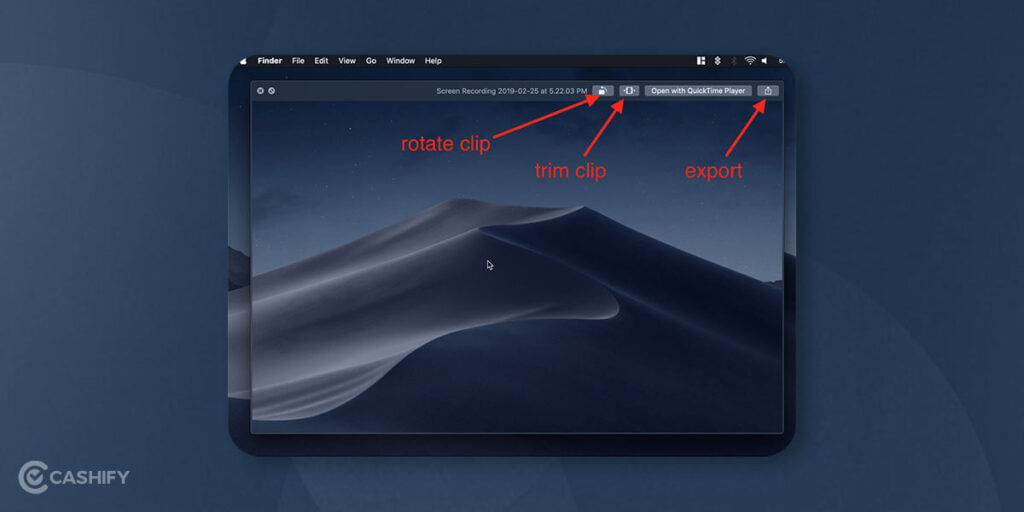
Avoid clicking twice on your recording for its previews, as it will take you to QuickTime. It is better to click on it once to highlight the bar and then click on the spacebar, opening the preview window.
Once the preview opens, you can simply make alterations to your clip by trimming the clip, or you may share it as well.
Also read: 7 Best 17-inch Laptop For Gamers And Content Creators
Snagit for screen recording
Snagit is an excellent way to record screens on Mac as it offers screenshots and screen recordings. However, you will find it difficult to operate for various work like editing videos of Youtube videos because Snagit is not featured. But we like how the User Interface of Snagit is set up as it is very user friendly.
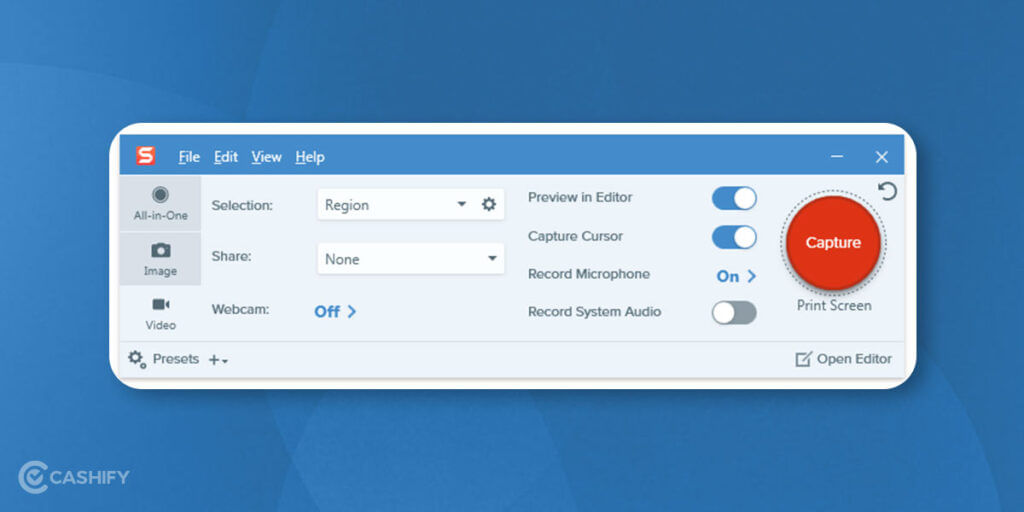
To put Snagit into use, you need you select the video on the left side of the screen and choose the appropriate settings for recording the screen. You also get the option to include your Webcam in screen recording in cases where you are explaining something or giving a demo of a product.
Once everything is set in place, you just need to press the Capture button.
Once you are done recording the screen, you will see an editor bar. Editor bar will show you the instructions on how to use the editing tool of Snagit.
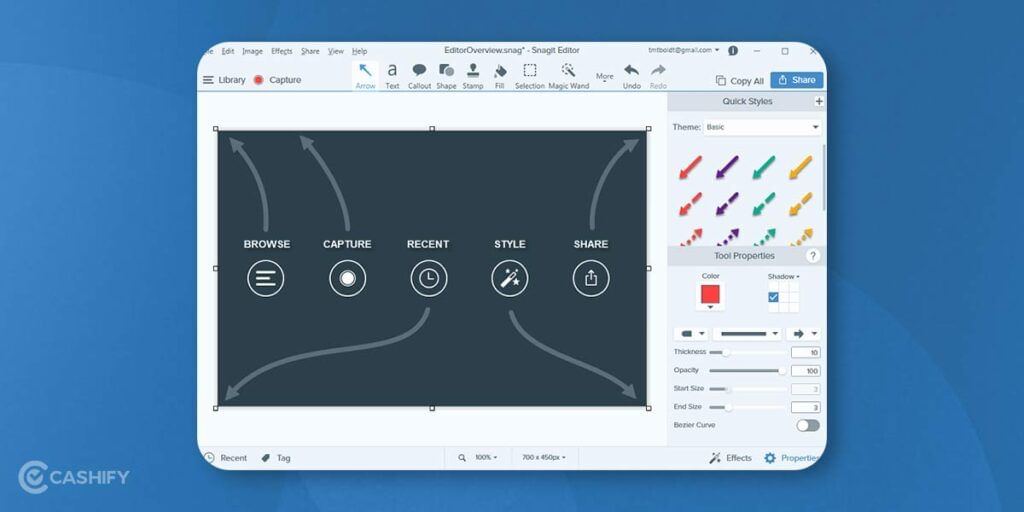
There are many filters and notations that you can add to your captured image, but Snagit doesn’t have functions for the video made by screen recording. We would suggest Snagit for users who are more accustomed to recording short videos than long ones.
Also read: Samsung Galaxy S22 Vs Samsung Galaxy S21: What Are The Differences?
QuickTime to record screen on Mac
Quicktime is an in-built App by Apple. People tend to use it for entertainment by watching movies, but it has much more than that to offer. One of the valuable features of Quicktime is screen recordings.
After you open Quicktime, select File> New Screen Recording.

Once you select New Screen Recording, a small pop-up will appear with a red button. You need to click on the red button to start the recording. After clicking you are given two options. One, to select the entire screen for recording. Another option is to record part of the screen.
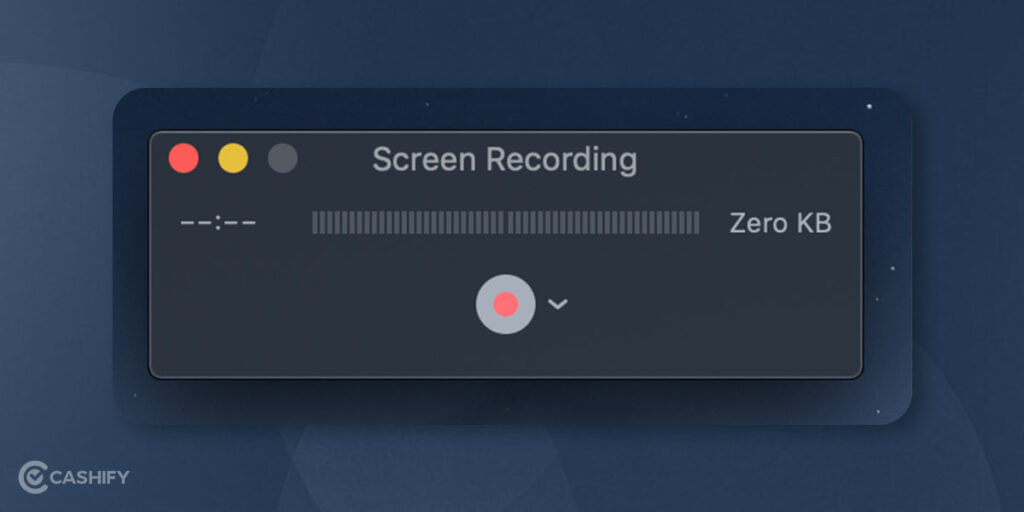
If you wish to record only a specific part of your screen, then drag the cursor to make a rectangle over the area that you want to record.

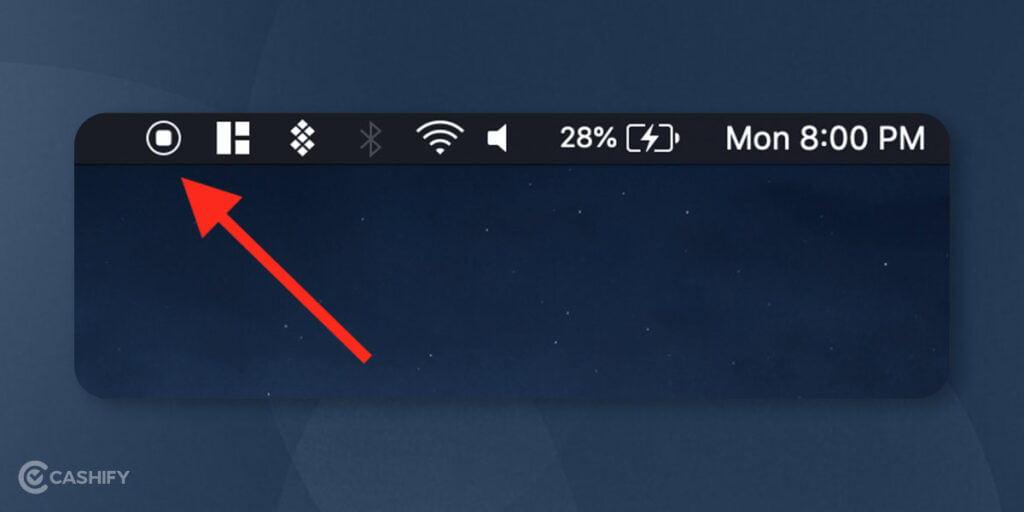
As the recording starts, you will notice a small icon stating ‘Stop’ in the menu. You simply need to click on that small icon, and the recording will stop.
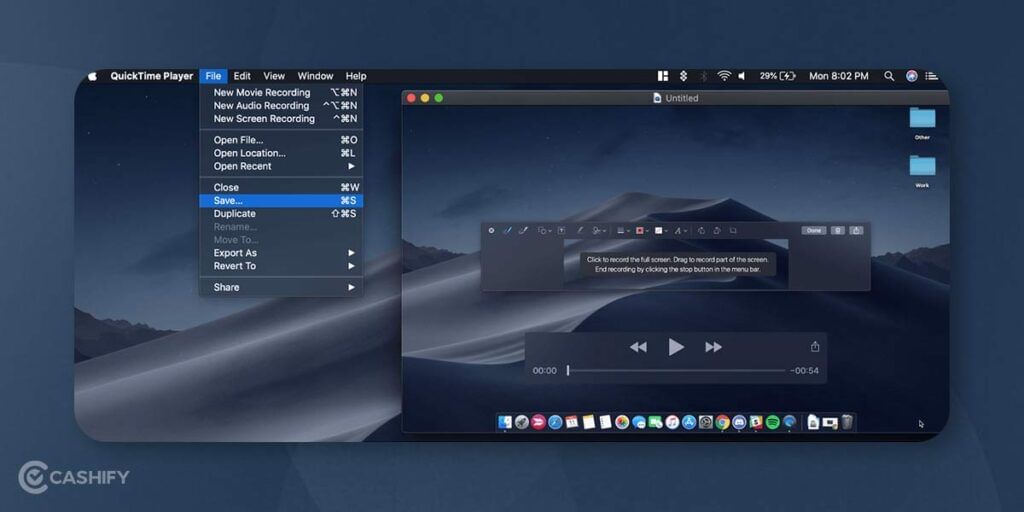
After you are done with the screen recording, you will notice a video player showing your recording. You just need to save this recording by going to File> Save. Quicktime allows you to save videos in multiple formats as per your need.
Camtasia
Camtasia is video editing and screen recording software. It offers great features for users who want to make high-end quality videos. It is a premium software, but it also provides a free trial.
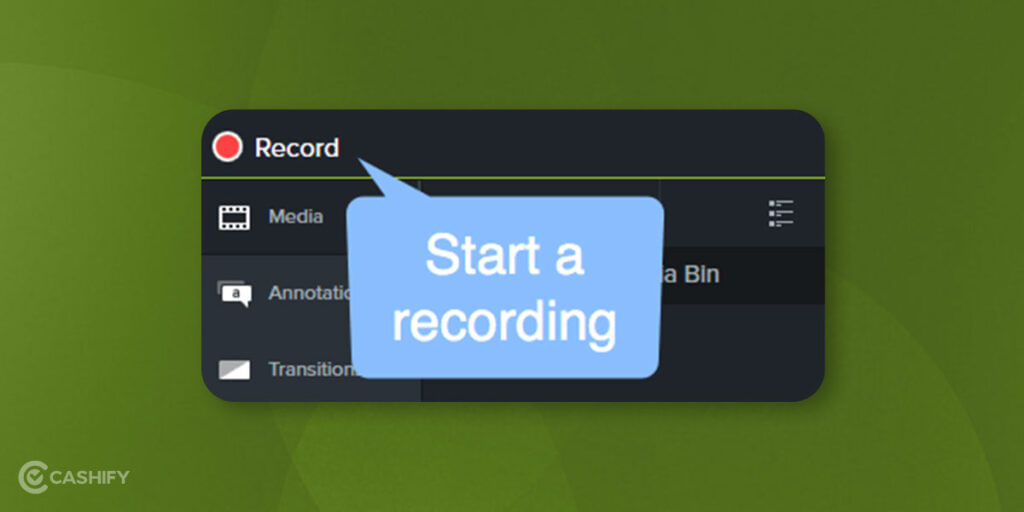
Download it, and when you are ready for screen recording, just click on the ‘Record’ button. ‘Record’ button will start the screen recording on Mac.
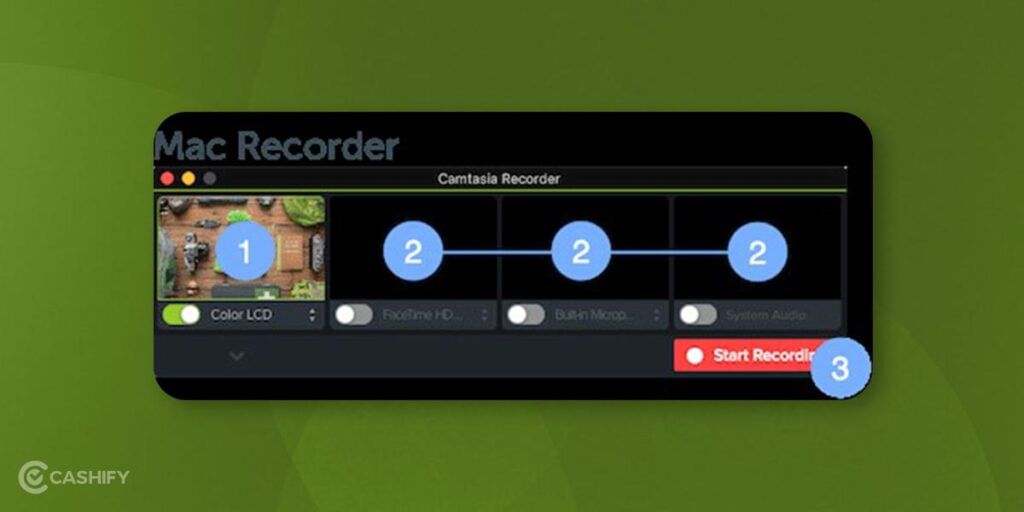
It offers you to set your preferences for screen recording, like what equipment you want to use before starting.
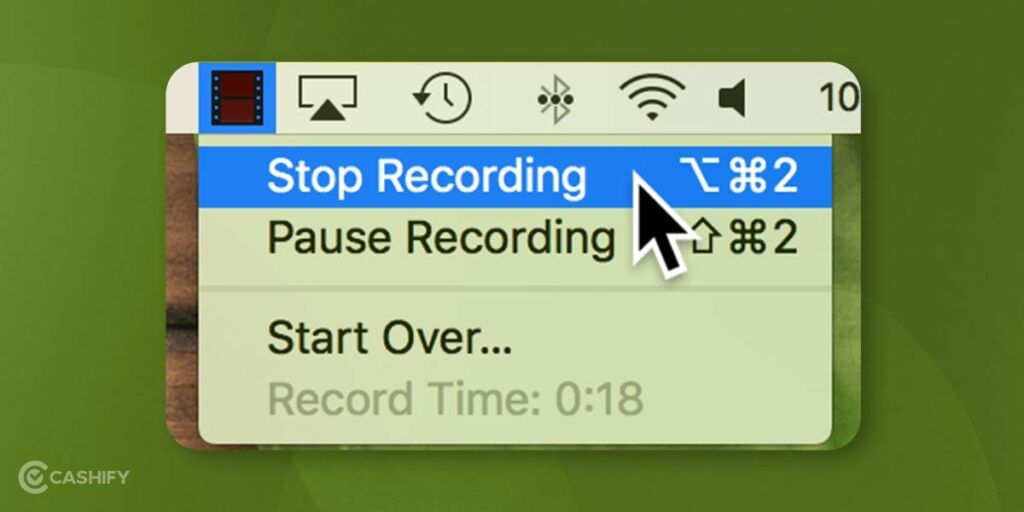
You have two ways to stop the recording: clicking on the Stop button or pressing a combination of hotkeys CMD+SHIFT+2.
Camtasia’s recording will be seen in the media folder. Furthermore, it offers a wide range of tools for taking your recording to the next level. The tools have audio effects, video transition effects, and annotations as well.
Also read: 6 Best Cheap Gaming Laptops to Buy in India[2022]
Conclusion
There are thousands of options out there if you want to do screen recording on Mac. All these screen recording apps that we have stated have some of their pros and cons, but the basic function of screen recording seamlessly is a feature that you will definitely find on each of these apps.
Also Read: A Buyer’s Guide To Choose The Best Mobile Back Cover
Cashify lets its users sell phone online to receive the best buyback value for the devices. We also facilitate our customers to recycle old phone, all from the comfort of their own homes.