Photos and videos capture our most cherished memories. However, gathering many photos and multimedia files on an iPhone leaves very little space. You might have got a message like this on your iPhone – “Storage Full.” In such a case, you can transfer photos from iPhone to external drive, a PC, or another device.
Imagine you’re on vacation, and your iPhone is filled with photos and videos. In such a situation, you can use cloud storage to back up or free up space, but what if you’re offline? You can get an external hard drive and transfer photos from your iPhone to it. However, if you don’t know how to do it, you’ve come to the right place. This article will discuss how to transfer photos from an iPhone to an external hard drive to free up space.
Also Read: Best External Hard Disks To Store Data With Ease
What are the Requirements to Transfer Photos from an iPhone to External Drive?
Here are a few things that you need to transfer photos from your iPhone to the External Drive.
- An iPhone running on iOS 13 or later.
- External hard drive, flash drive, or SSD formatted to macOS Extended, APFS, APFS (encrypted), macOS Extended, FAT32, or FAT
- USB adapter/Lightning adapter, USB cable, USB-C, USB hub (depends on your iPhone model)
- A PC and a compatible cable in case you want to transfer photos from iPhone to Mac/Windows PC.
Also Read: How To Transfer Data From iPhone To iPhone Via 4 Easy Options
Method – 1 – Transfer Photos/Videos from the iPhone to the External Drive Directly.
It is the quickest and easiest way to transfer multimedia files from an iPhone to an external drive. For that, you will need a small USB drive, so ensure it has the proper connection (USB-C or a lightning cable). With this method, you don’t need a PC.
Here are a few steps that you have to follow.
- Connect your USB drive to your iPhone.
- Now, open the Photos app.
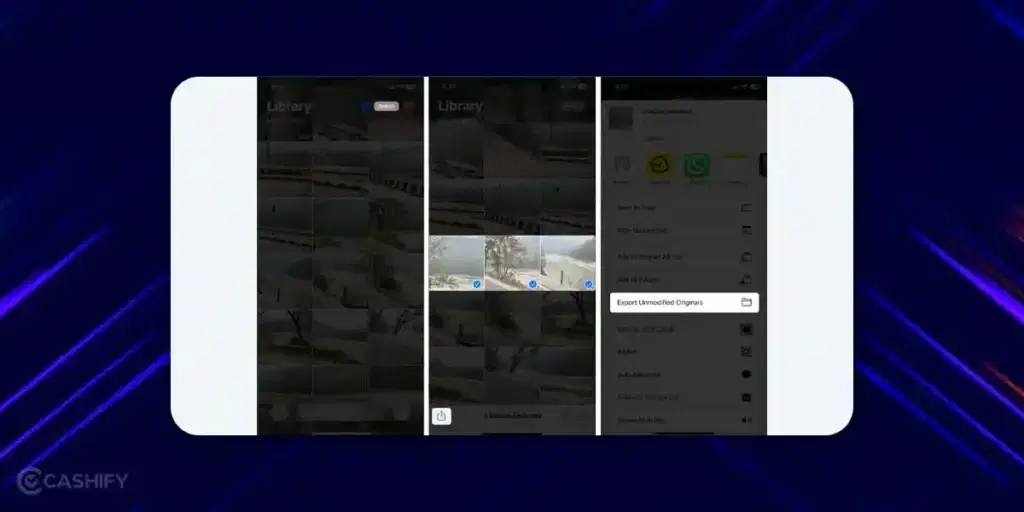
- Select the photos and videos from it and choose the multimedia that you want to transfer.
- Click on the share button and choose “Export Unmodified Originals” from the share sheet.
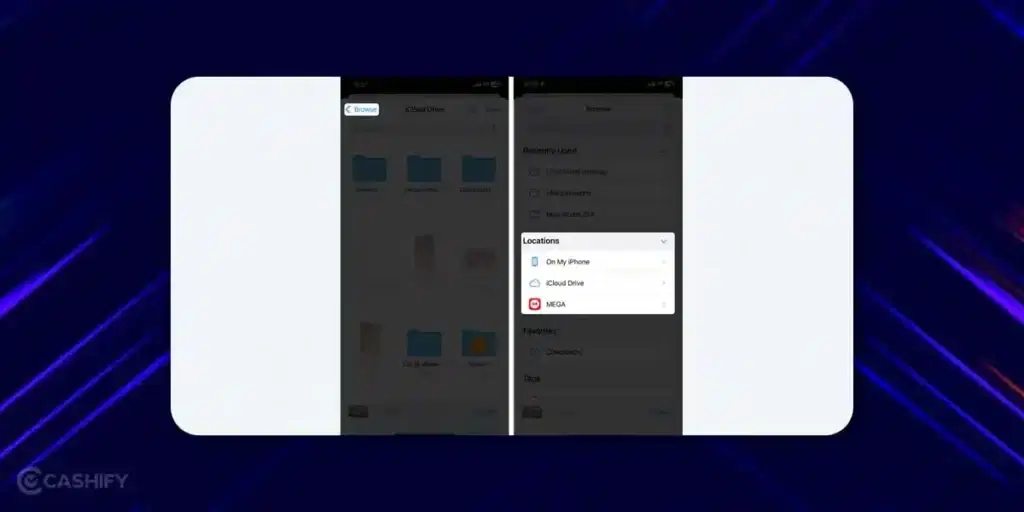
- It will open the Files app. Click on Browse -> Select your external drive name -> click Save. If you do not see your drive name, disconnect it and plug it in again.
- All your selected iPhone photos will be transferred to the external drive.
- You can go back to the photos app and delete the photos. It will free up the space on your iPhone.
Of course, buying an external drive requires an initial investment. However, it is an excellent way to offload your multimedia files to free up space on your iPhone.
Method – 2 – Transfer Photos/Videos from iPhone to External Drive Using iCloud
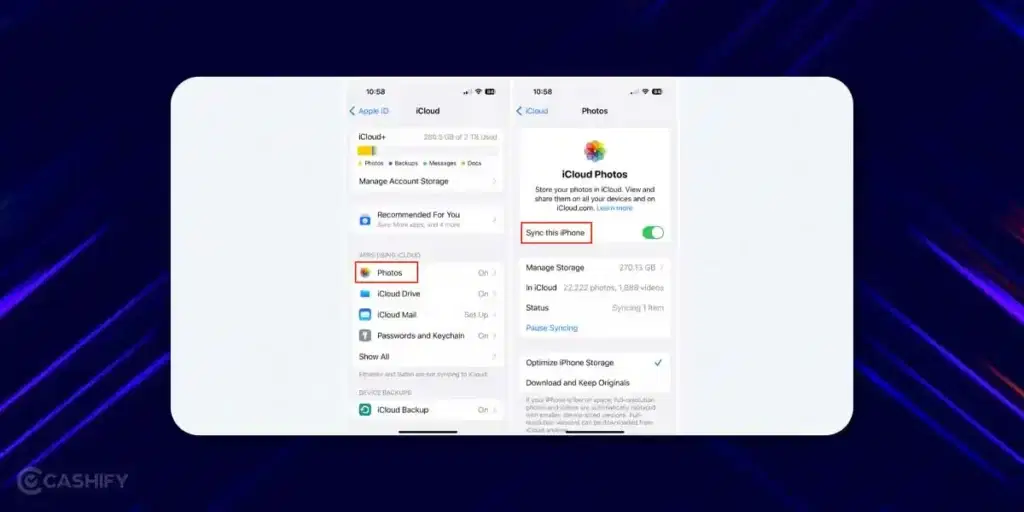
Whenever you want to transfer a few photos/videos to an external drive, iCloud is the perfect way. This method lets users sync their photos/videos across multiple devices. It is an ideal way for people who use iCloud to meet their storage requirements. First, you need to enable iCloud photos on your iPhone. Here is how you can do it.
- Go to Settings.
- Click on your name and go to your Apple account.
- Click on iCloud -> Photos
- Now, toggle on “Sync this iPhone” to store your photos in iCloud.
After that, go to iCloud on your computer.
- Visit iCloud.com and sign in using your Apple ID.
- Open photos in your iCloud.
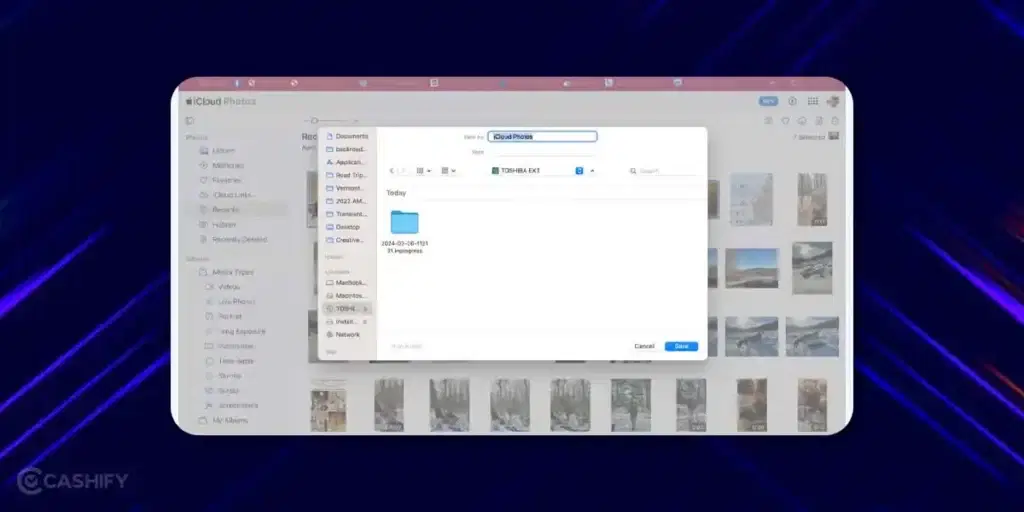
- Now, connect your external drive to your computer.
- After that, use Command + click to choose all photos you want to download.
- Tap on the download icon.
- Select your external drive.
- Click on ‘Save.’
Also Read: Easy Tips And Tricks To Switch Data From iPhone To Android
Method – 3 – Transfer Photos/Videos from iPhone to External Drive Using Mac PC
You can use your Mac or Windows PC to transfer photos/videos from your iPhone to the external drive. Here is how you can use it. MacOS has an inbuilt feature named Image Capture, which lets you export photos and videos from your iPhone to the external drive. Here is how you can do it.
- First, connect your iPhone with the Mac through its cable.
- Go to Launchpad -> Image Capture -> Click on the app and launch it.
- Your iPhone name is under the Device section, and all its multimedia files are on the right side. If you’re not able to see it, unplug your external drive and plug it in again.
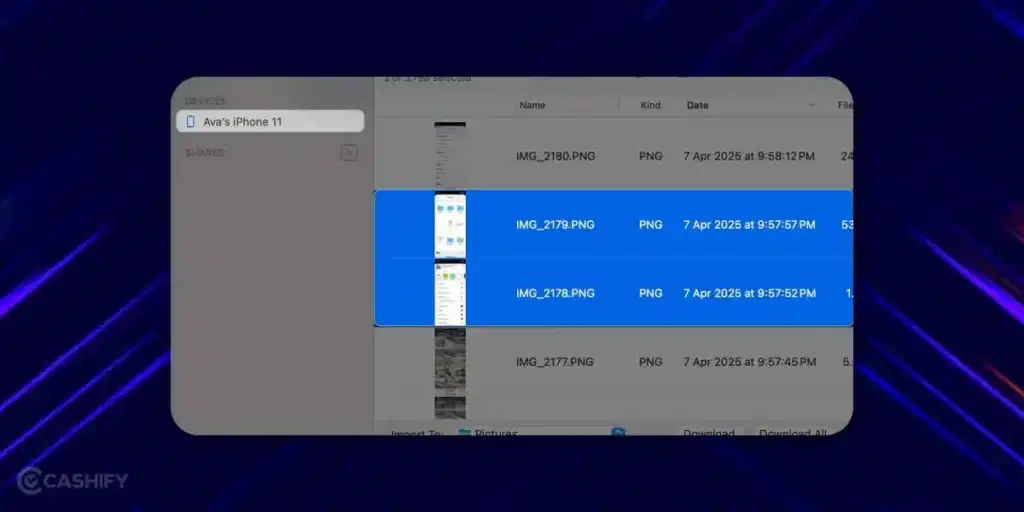
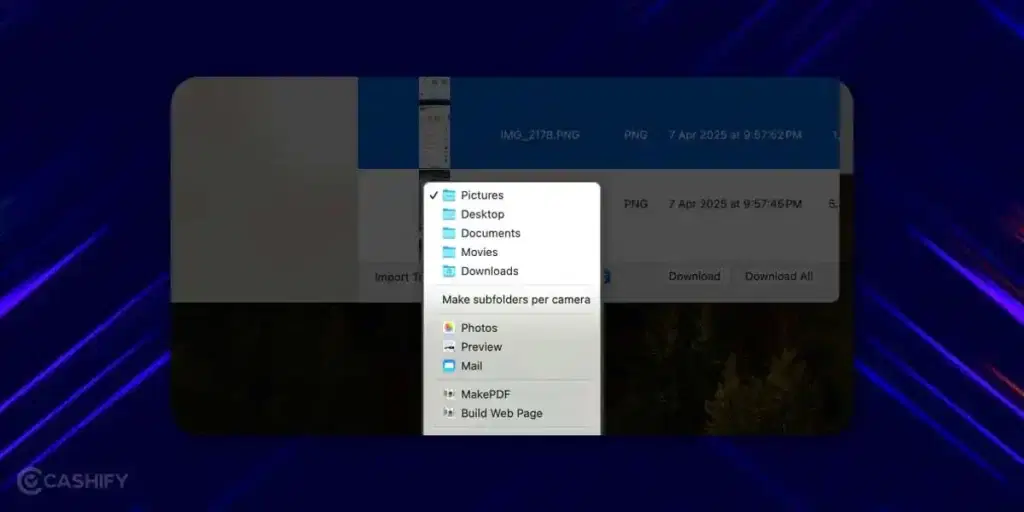
- Choose the photos that you want to transfer -> click on the Import To box -> Select your external drive.
- Click on the “Download” button. It will start downloading your photos to your connected drive.
Also Read: What Is The Difference Between External Storage And Internal Storage?: Cashify Explains
Method – 4 – Transfer Photos/Videos from iPhone to External Drive Using Windows PC
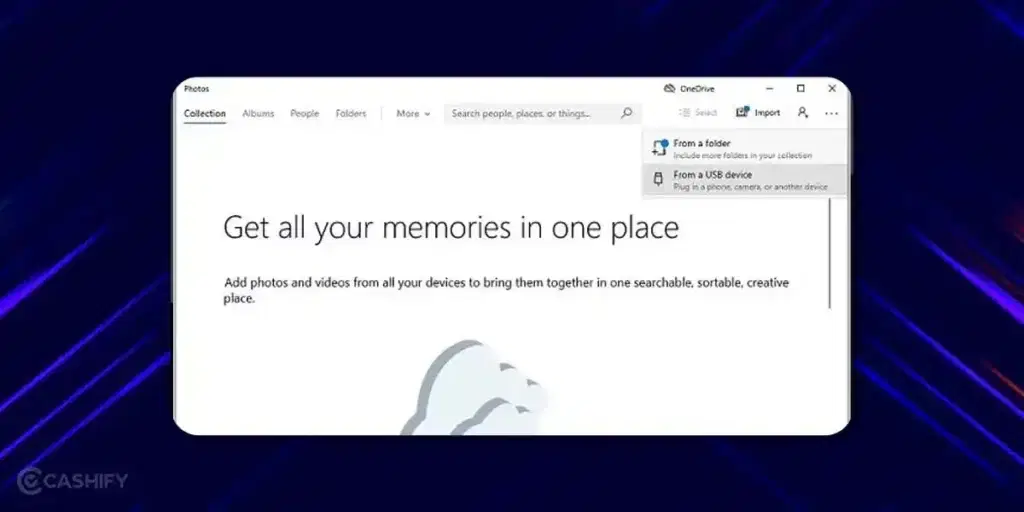
Whenever you want to transfer photos from your iPhone to the Windows PC, use its native Photos app. Here are a few steps that you need to follow to transfer photos to an external drive.
- Connect your iPhone and external drive via USB to your Windows PC. Click on the “Trust” button whenever you get a prompt on your iPhone. It will let your PC access all its files.
- Open the Photos app.
- Tap on the “Import” option.
- Choose the photos/videos you want to import to your external drive.
- Select your external drive name from the menu and start the procedure.
Another method that you can use to transfer photos/videos from your iPhone to an external drive is using File Explorer. For that, you need to use the below method.
- Connect your iPhone and external drive via USB to your Windows PC.
- Give permission to approve the iPhone.
- Click on Start-> Windows Explorer
- Choose PC -> Click on the Apple iPhone’s internal storage.
- Head to DCIM and select images -> Copy. Now, go to the external hard drive and Paste the selected images.
Also Read: New Accessories That You Can Connect iPhone 15 With USB C
FAQs
Is it possible to connect my iPhone directly to the external hard drive?
No, the iPhone does not support direct connection to the external hard drives. You need to use a USB-C or Lightning adapter to connect these types of external storage devices.
Does USB-C support iPhone?
Yes, recent iPhone models support USB-C for data transfer and charging.
Will the transfer of iPhone photos to an external drive affect picture quality?
When you use Image Capture, Photos app, iCloud photos, and third-party software to transfer iPhone photos to an external drive, it maintains the original quality and resolution of the photos.
Also Read:How to Securely Transfer Data and Personal Information Before Selling Phone
Concluding Remarks
Here we come to the end of this article. Your photos and videos are safe on an external hard drive, and your iPhone storage is free. The best thing about an external hard drive is that it’s highly reliable, provides a lot of space, and allows you to access those files offline. Therefore, don’t forget to carry an external hard drive with you next time you plan a trip to avoid a storage crisis.
Also Read: How To Send Photos From iPhone To Windows In 3 Simple Ways
If you’ve just bought a new phone and don’t know what to do with your old phone, then here’s your answer. Sell old mobile to Cashify and get the best price for it. If you are planning to buy a new phone, check out Cashify’s refurbished mobile phones. You can get your favourite phone at almost half price with 6 6-month warranty, 15 days refund and free delivery.