Smartphone photography is continuously evolving, with manufacturers integrating the most advanced camera technologies into their phones. However, it is not just about the specs; sometimes, shooting in the right mode can make all the difference. You might have seen “Pro Mode” on your phone camera, but have you ever wondered what it is actually capable of doing, or if you are using it right? In this blog, we will share five tips on how to use Pro mode on Android smartphone camera.
Read till the end to master pro-level shots.
Also Read: 7 Best Google Pixel 9a Camera Settings To Capture Pro-Level Shots
Pro Mode On Android Smartphone Camera: How To Use It?
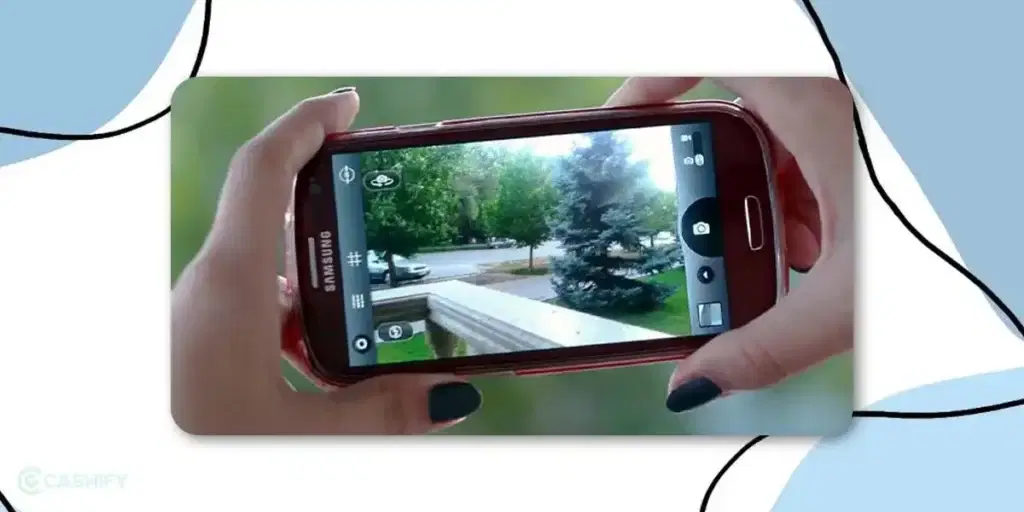
Depending on your phone’s brand and model, you can find the Pro mode in your smartphone camera. For instance, in Google Pixel 8 Pro, it appears in the bottom-right corner under “Adjustment icon”. Likewise, on Samsung phones, it is under the “More” option.
When you enter Pro mode, you will find a lot of buttons like ISO, Speed, Shutter, Focus, etc. But don’t get confused, here’s how you can make the most out of Pro Mode on Android smartphone camera.
Understanding Shutter Speed

Shutter speed, as the name suggests, is the speed at which your camera’s shutter closes. Your phone’s camera’s shutter speed is set to 1/60 by default. However, you can adjust it up or down based on the type of shots you will be taking.
Here are some of the shutter speed settings for Pro mode in Android smartphone camera:
- 1/500 or above for wildlife, sports, and action photography
- 1/250 for walking people or slower-moving animals
- 1/125 for moving vehicles
- 1/60 is the standard shutter speed
- 1/30 is used for fast-moving subject
- 1/15 is an excellent shutter speed for panning moving subjects
- 1/8 blurs fast-moving objects
- 1/4 blurs people when walking
- 1/2 can get slow-moving water with a blur
ISO- When To Use It?
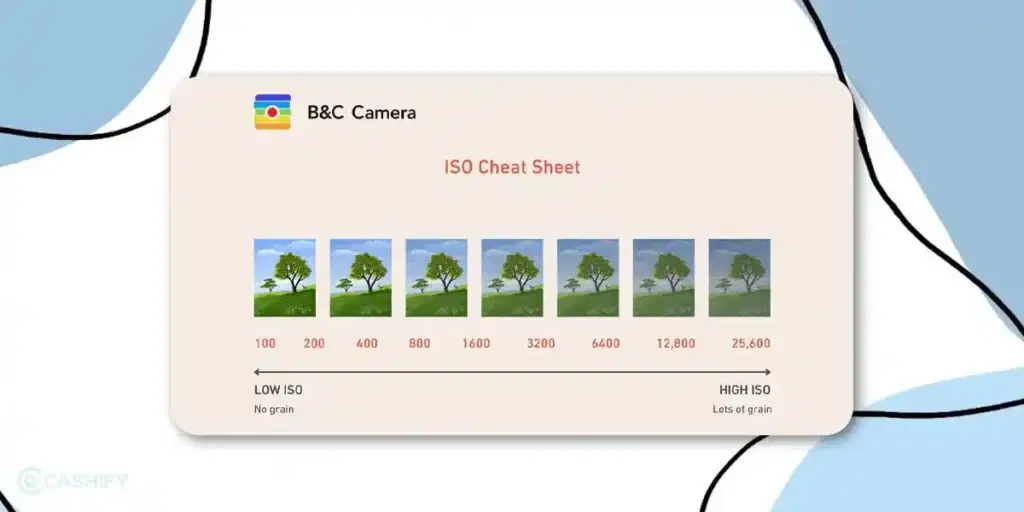
ISO has a major role to play in mobile photography. In simple words, ISO can make your images appear brighter or dark based on the settings you choose. If you are shooting on bright sunny days, always set the ISO between 100-200. While in low-light conditions, set the ISO to 400 or above.
However, note that increasing the ISO too much can introduce noise in the photographs. Therefore, you must adjust it carefully based on the lighting conditions. You might not get it right the first time itself, but experimenting with the Pro mode on an Android smartphone camera is the only way to click excellent shots.
Also Read: iOS 18.4 Update: Release Date, Best Features, Supported Devices
Manually Adjust the White Balance
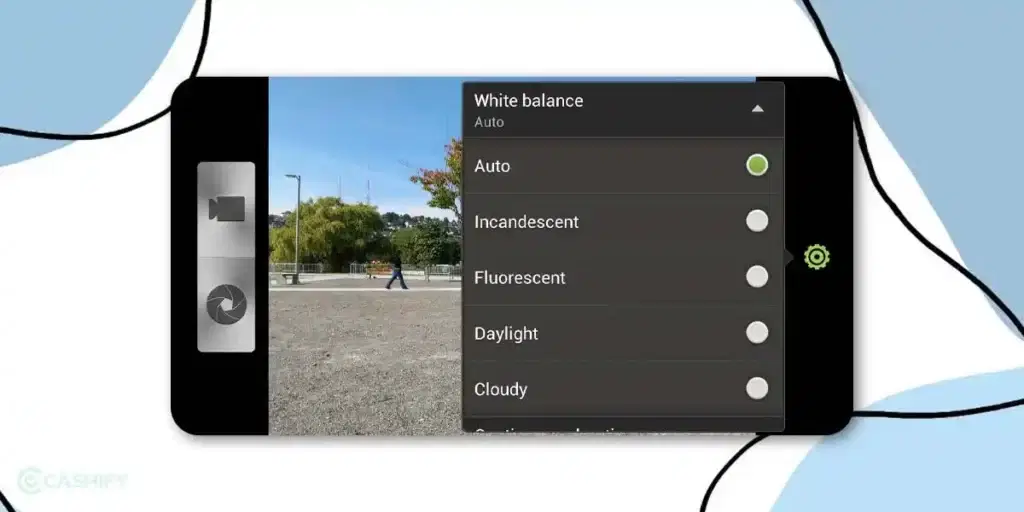
With White Balance, you can make sure the colors in your photos appear natural. Pro mode on your Android smartphone camera lets you select the different white balance settings. You can go high or low based on the condition in which you are shooting.
For instance, going on the lower end will add more Blue-like color to your photos, while going on the higher end will give your photos a warmer effect.
Use Manual Focus For More Precision
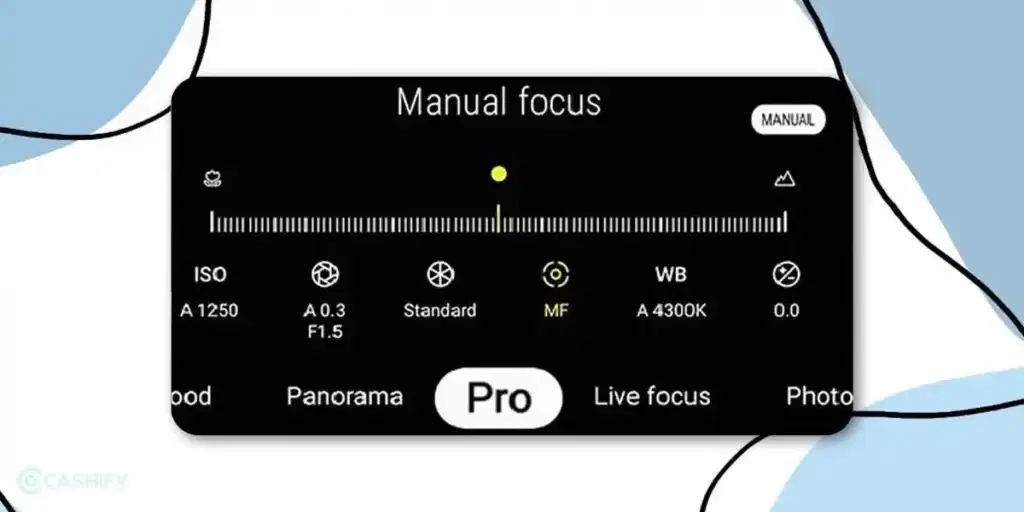
While Autofocus works well in most of the cases, Pro mode on Android smartphone camera gives you an option to manually adjust the focus for far greater accuracy. This is best used when capturing macro or portrait shots, giving you a more crisp result while creating a beautiful background blur (bokeh effect).
Shoot In RAW For Higher Editing Flexibility
RAW format is another great feature when using Pro mode on Android smartphone camera. Shooting in the RAW format gives you more room for editing images afterwards without losing the quality.
If you plan to edit your photos using apps like Adobe Lightroom or Snapseed, shooting in RAW allows you to recover details, adjust exposure, and enhance colors more effectively.
Best Camera Settings For Stunning Shots
Now that you know how to use Pro Mode on Android smartphone camera, here have a look at some other settings too:
- Aperture: Use f/1.8–f/5.6 for low-light or a shallow depth of field, and f/8–f/16 for a wider depth of field
- Shutter Speed: Adjust between 30 seconds for long exposures and up to 1/4000s for fast-moving subjects
- ISO: Set between 100–3200 for beginner cameras and 100–6400 for advanced models
- Camera Mode: Choose Manual mode for complete control or Aperture Priority for balanced exposure
- Metering Mode: Select Matrix, Multi, or Evaluative mode based on your camera model
- Focus Mode: Use AF-S for stationary subjects and AF-C for moving objects
- Focus Area: Opt for Single-point for still subjects and Dynamic/Zone for action shots
- White Balance: Keep it on Auto (AWB) for most lighting conditions
- File Format: Shoot in RAW for better post-processing or JPEG for quick sharing
- Drive Mode: Use Single-shot for still images and Continuous for capturing motion
- Long Exposure Noise Reduction: Turn off for better efficiency
- High ISO Noise Reduction: Keep off to retain image details
- Color Space: Use sRGB for standard color accuracy
- Image Stabilization: Enable when shooting handheld, disable when using a tripod
- HDR/DRO: Turn off for natural image processing
Also Read: 5 Best Mid-Range Samsung Phones You Can’t Miss In 2025
Final Thoughts
Pro Mode on Android smartphone camera can help you capture outstanding shots, only if you know how to use it. Hopefully, with the above-mentioned tips, you now have an idea of where to get started. So, go ahead and start experimenting with these settings today to take your Android photography to a professional level.
Are you already using Pro Mode on your Android phone? Share your experiences and favorite settings in the comments below.
Also Read: Samsung Galaxy Z Fold7: New Chipset, Price, Launch Date, Features
Frequently Asked Questions
How to use Pro mode on Android smartphone?
Pro mode can capture some of the most stunning shots. You just need to know when to use which options. Such as, a higher shutter speed is used to capture moving objects, while a lower shutter speed can capture motion blur shots. Additionally, you must know how to adjust white balance and use manual focus for your photos.
What is ISO in camera Pro mode?
ISO controls the amount of light your phone’s camera is letting in. Lower ISO values between 100-200 are ideal for capturing in daylight while higher ISO (400 and above) are ideal for lowlight shots.
How to take moon pictures with Pro Mode on phone camera?
For moon shots, set ISO to 100-200, use a shutter speed of 1/250s to 1/500s, and focus manually on infinity. Use Spot Metering for accurate exposure, and shoot in RAW for better editing flexibility. A tripod is key for stability, and a telephoto lens will capture more details.
If you’ve just bought a new phone and don’t know what to do with your old phone, then here’s your answer. Sell old mobile to Cashify and get the best price for it. If you are planning to buy a new phone, check out Cashify’s refurbished mobile phones. You can get your favourite phone at almost half price with six-month warranty, 15 days refund and free delivery.