Knowing how to schedule message on WhatsApp can save you from so many difficult situations. Especially, if you are someone who tends to forget important things and events right when they happen. Scheduling WhatsApp messages can help you send timely reminders, birthday wishes, or important updates, even if you forget. Yes, it can literally save your day! So, are you excited to know how you can do it on your device? Let’s get started!
Before we start, let’s be aware that WhatsApp doesn’t have a built-in feature for scheduling messages. However, there are other ways you can use third-party apps and tools. Here is a step-by-step guide for WhatsApp users with Android and iPhone devices.
Also read: How To Receive High Priority Notifications on WhatsApp?
How To Schedule Message On WhatsApp (For Android Users)
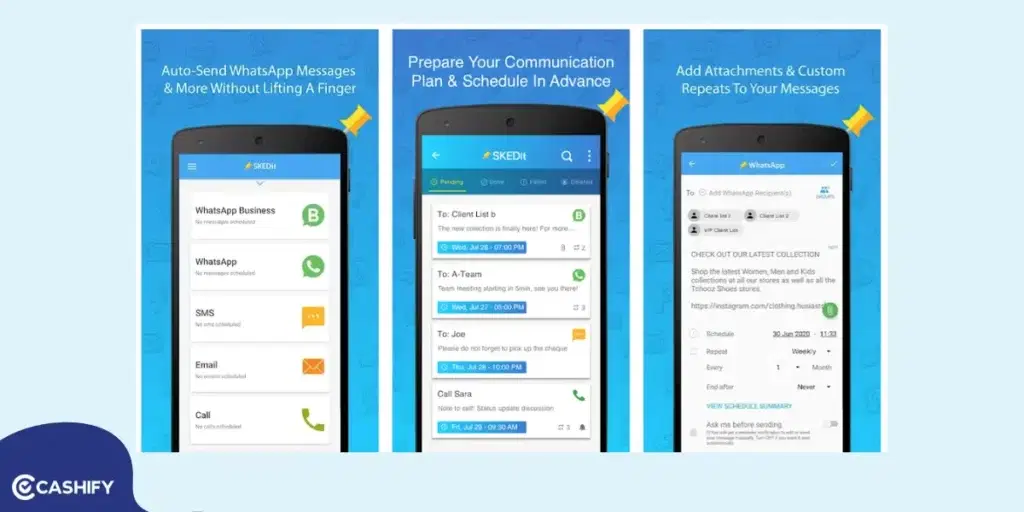
To schedule WhatsApp messages, you will need the SKEDit app, which is available for free on the Google Play Store. A premium subscription unlocks additional features, but the free version is sufficient for basic scheduling.
1. Download and Install SKEDit
- Search for SKEDit on the Google Play Store and install it.
- Once installed, you can sign up or skip the sign-in process—the choice is yours.
2. Open the App Dashboard
After installation, you will be greeted by the main dashboard, where you can:
- View upcoming scheduled messages.
- Check sent, undone, deleted, or failed messages.
Also Read: Easy Ways To Fix WhatsApp Verification Code Problem!
3. Schedule a New Message
- Tap the + icon at the bottom of the screen.
- Select the type of message you want to send (in this case, WhatsApp).
4. Grant Permissions
You will see a popup asking you to grant permissions for the app to function correctly. Permissions include:
- Accessibility settings.
- Drawing over the screen.
- Unlocking your phone to send messages.
Remember:
- The app can only unlock phones using passwords or PINs, not patterns or fingerprint unlocks.
- If you have privacy concerns, remember that the app will access information displayed on your screen.
5. Set Your Phone Timeout
- Adjust your phone’s screen timeout to at least 30 seconds. This ensures the phone will relock itself after sending the message.
Also Read: How To Find My WhatsApp Number And Change It?
6. Compose and Schedule Your Message
- Choose a recipient from your WhatsApp contacts.
- Type your message and attach any files (e.g., images or documents) if needed.
- Set the date and time for the message to be sent.
- Skip additional options if unnecessary, and tap the tick icon in the top-right corner.
The premium version includes other advanced scheduling options as well. However, the free version of SKEDit is enough for basic scheduling.
How To Schedule Message On WhatsApp (For iPhone Users)
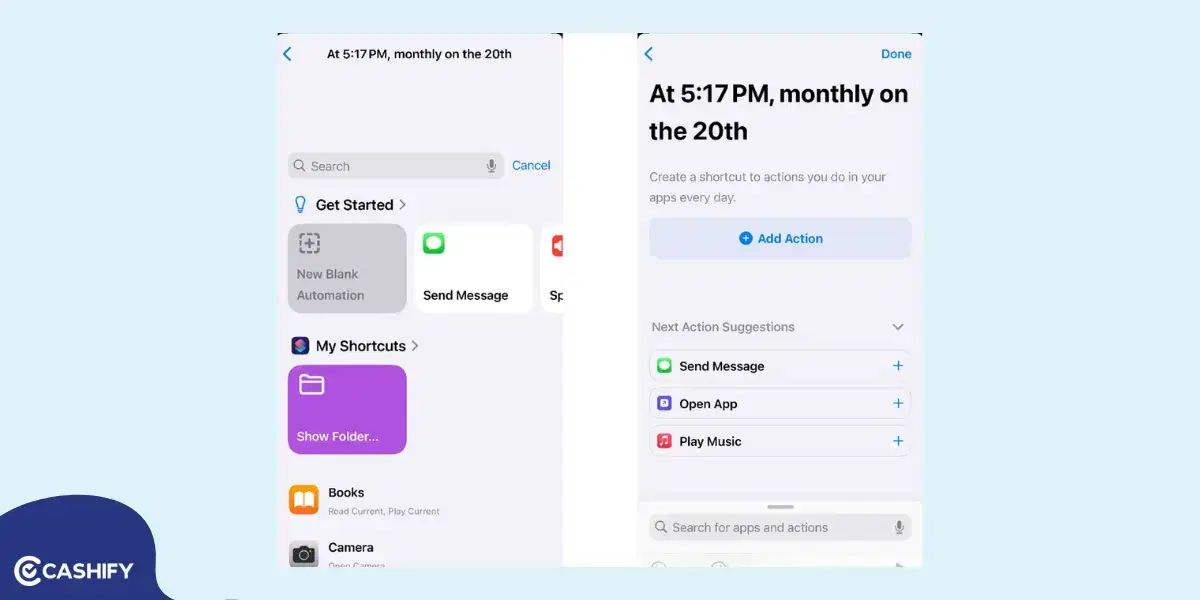
Shortcut App on Apple iPhone is the easiest way to schedule messages on WhatsApp. Follow the below steps for further.
Step 1: Open the Shortcuts App
- Open the Shortcuts App on your iPhone after closing the WhatsApp.
- At the bottom, you will find the ‘Automation’ tab. Tap on it.
Step 2: Create a New Automation
- Tap the ‘+‘ button in the top right corner and select ‘Create Personal Automation.‘
- Choose ‘Time of Day‘ as the trigger.
- Set the desired time for your message to be sent (e.g., 2:00 PM).
- Under ‘Repeat,’ choose the desired frequency (“Daily,” “Weekly,” “Monthly,” or “Once”).
- Tap ‘Next‘ in the top right.
Also Read: How To Create A WhatsApp Channel?
Step 3: Add the Action
- Tap ‘Add Action‘ and select ‘Apps‘.
- Search for WhatsApp in the list of apps and select it.
- Choose the action ‘Send Message‘.
Step 4: Configure the Message
In the action panel:
- Tap ‘Message‘ and type your desired text (e.g., “Hello”).
- Tap ‘Recipients‘ and select one or multiple contacts for the message.
- Tap ‘Done‘ in the top right.
Step 5: Test the Automation
Now that you have made the settings, it’s time to make sure it is working properly.
- Tap the ‘Play‘ button in the bottom right to run the automation.
- Open WhatsApp and check the message has been sent successfully.
Also Read: How To Use WhatsApp On Computer Without WhatsApp Web
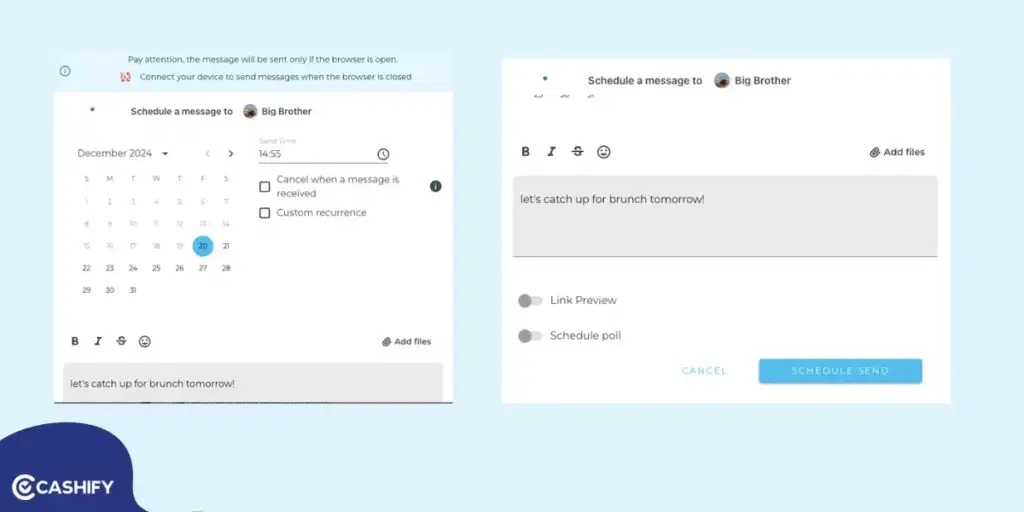
How To Schedule Message On WhatsApp Web?
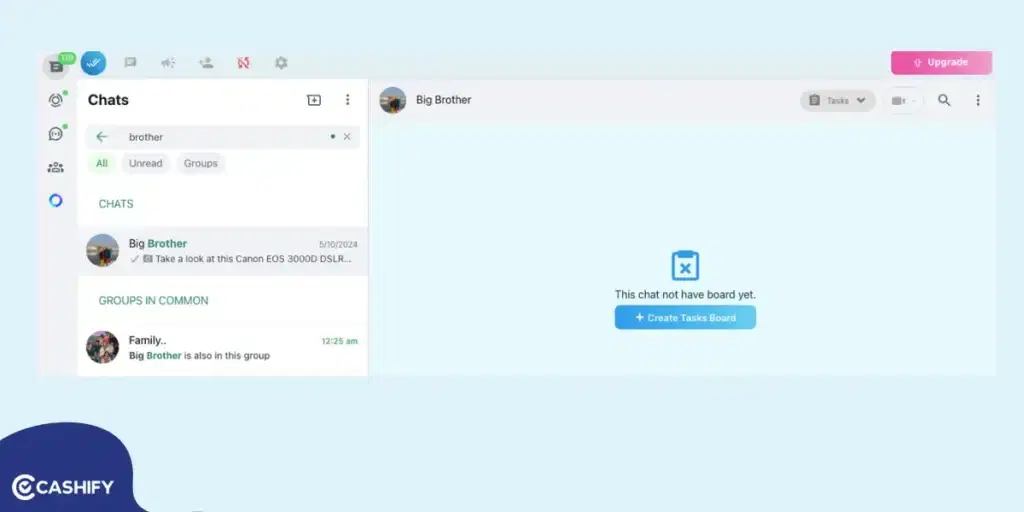
- Install the Blueticks extension from the Chrome Web Store.
- Open WhatsApp Web in your browser and log in the usual way.
- Open the chat with the contact or group you want to message.
- Click on the Blueticks icon in your browser.
- Select the desired date and time, type your message, and click Schedule Send.
In The End
Now that you know how to schedule a message on WhatsApp, you may sign some relief and go about your day. Even though WhatsApp does not have provisions for scheduling, the above methods will help you get the job done efficiently. Just make sure to use a reputed third-party app if you are using in case of Android. So get on with making communication effortless and timely with WhatsApp scheduling now!
Also read: How To Do Screen Mirroring On iPhone For Streaming Videos On Apple TV Or Mac?
If you’ve just bought a new phone and don’t know what to do with your old phone, then here’s your answer. Sell old mobile to Cashify and get the best price for it. If you are planning to buy a new phone, check out Cashify’s refurbished mobile phones. You can get your favourite phone at almost half price with six-month warranty, 15 days refund and free delivery.


