Building trust with your online audience as a brand or company should be the priority in your overall marketing plan. How can you establish your identity besides developing a comprehensive content strategy? Facebook verification comes into play here, with a blue checkmark clearly separating an authentic Facebook Page from a page made by fans or imposters.
Verification is important for Facebook Pages and profiles that are well-known, frequently searched, and may be easily copied or mocked. For such pages getting verified and getting that blue tick on Facebook is a must. This covers public figures, celebrities, well-known influencers, brands, and businesses.
In this article, you will find a step-by-step guide on how you can get verified on Facebook as well as a few things that you should know about Facebook verification. Let’s get going.
Also Read: How To Get Verified On Twitter?
What does being verified on Facebook mean?
You’ll want to understand what it means to become verified on Facebook in the first place and why it is so crucial before we begin the Facebook verification procedure.
As we briefly said previously, companies and famous people may frequently see people making Pages and profiles that are identical to theirs – either to copy them or to develop a fan base. There is a significant chance that other Facebook users will mistake those Pages and profiles for the real deal, even if there is no harmful intent behind them.
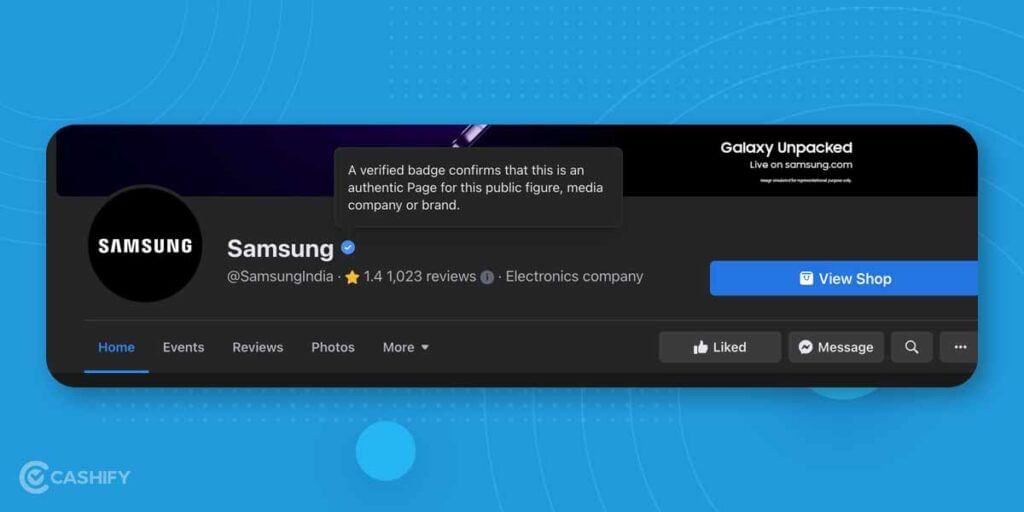
A Facebook verification checkmark lends legitimacy to business pages and makes it evident which Pages are legitimate and which are fake or maintained by fans.
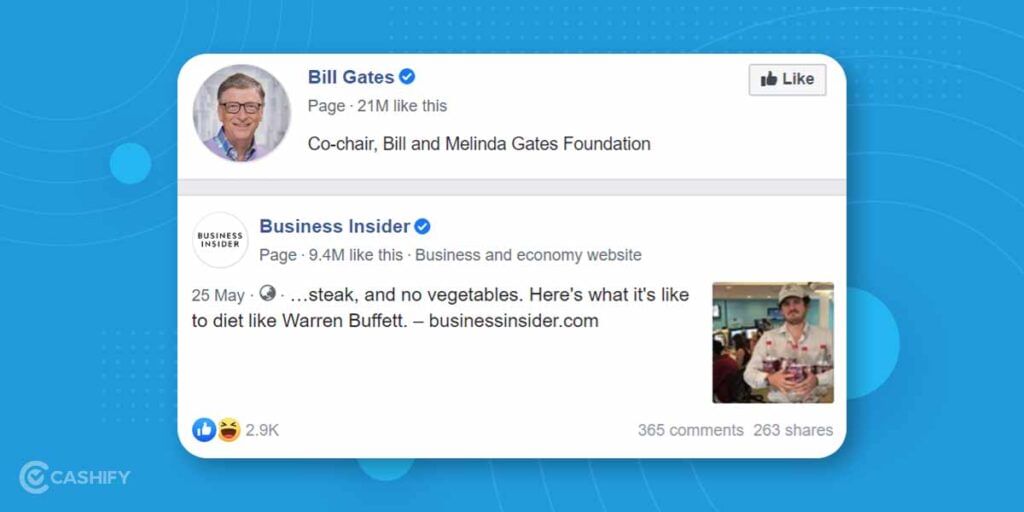
Furthermore, Facebook gives verified accounts and Pages more prominence in its search results. Therefore, Facebook verification makes sure that your Page prominently appears at the top of pertinent searches, which may increase your reach even more.
Also Read: How To Move Facebook Photos To Google Photos!
For users or Pages that are relevant to the general public, Facebook displays a blue checkmark or verification badge. Consider huge businesses, well-known brands, and famous people.
Also Read: How To Enable Two-Factor Authentication on Facebook?
How to get verified on Facebook
Getting verified on Facebook is as easy as filling out a single form. But the form still requires some important aspects and demands proper reasoning why you should get verified on Facebook. Here is a step-by-step guide to getting verified on Facebook.
Step 1: Determine the type of account to get verified on Facebook
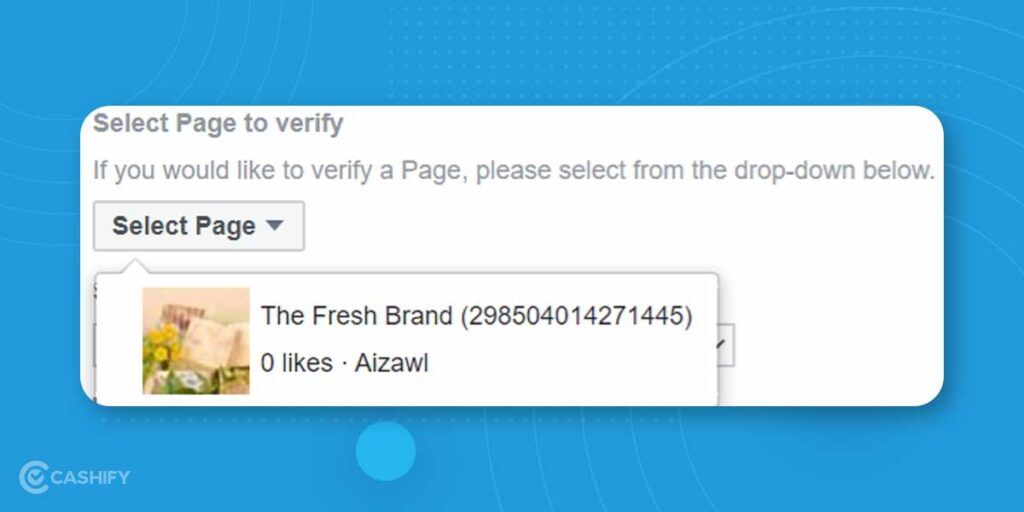
For any Facebook profile or a Facebook Page, you can ask for verification there is no limitation in terms of this. Make sure you are logged into your Facebook account and click on this Facebook Verification Page Form.
Once you are logged in you can see all your Facebook pages under “Page” tab and select your page from the drop-down in case you are applying for Facebook Page verification.
Step 2: Verify your legitimacy
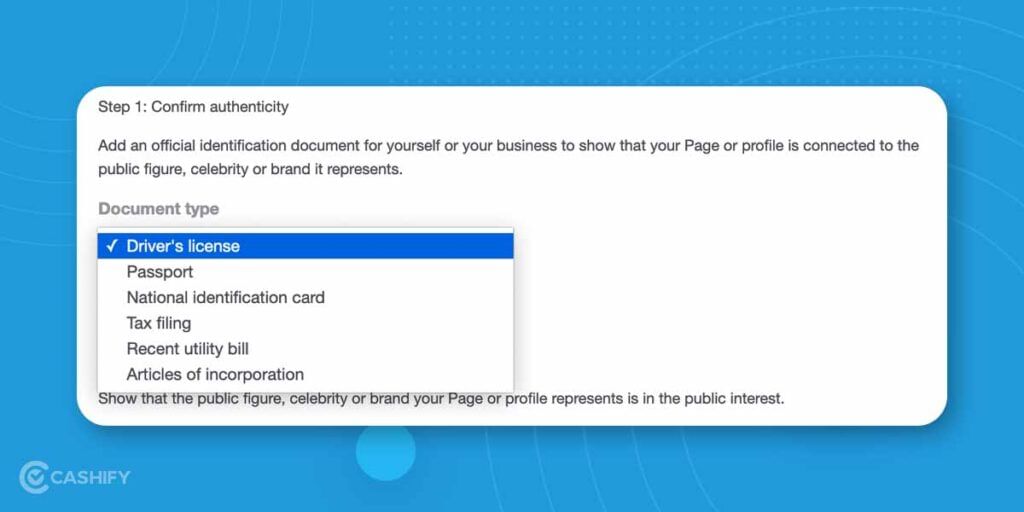
You’ll require identification to show that you are who you claim you are when you request verification. This verification is important to filter out imposters who will be unable to obtain verification as a result.
The accepted forms of identification are:
- Driver’s license
- Tax filing
- Recent utility bill
- Passport
- National identification card
- Articles of incorporation
Depending on who provided the form of ID, different types are permitted under different conditions. When in doubt, consult the whole list of guidelines for forms of identification.
You will need to upload a digital copy of your identity verification, such as a scan, to attach to the form, regardless of the document you use.
Step 3: Confirm your notability

You must demonstrate that your account is noteworthy enough to merit the blue checkmark in the second section of your profile or page verification application. Facebook wants to know if there is a public interest in your account is verified.
You will give some fundamental details in this area. This comprises the category your account belongs to and the nation or area where it is most well-liked. Your chances of getting authenticated will increase if you are as thorough as you can be.
You can tell Facebook about the kind of individuals who follow you, their hobbies, and the reasons they follow you in the audience area. The ‘Also known’ field need not necessarily be filled in. Using many names for your business or yourself will assist Facebook to understand your reach. If your brand employs many names in various markets, this can be the case.
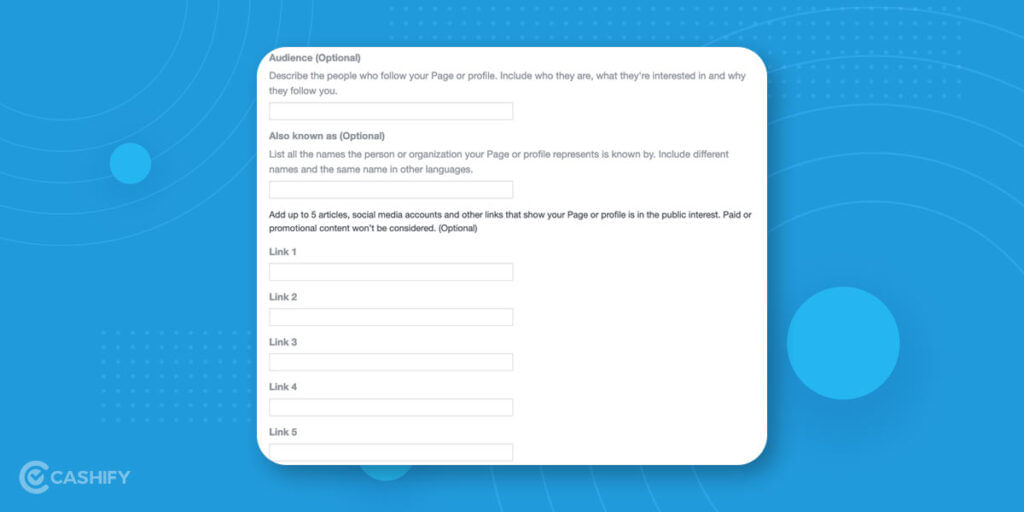
Last but not least, you may provide up to five links to publications or social media profiles that indicate your popularity. These connections must be separate. Promotional or paid content won’t be taken into account.
Also Read: How To Unlock Your Facebook Account?
Step 4: Explain why you want to get verified on Facebook
Facebook will next ask you to give a justification for why your Page or profile should be verified. Try to explain why you require a verification badge in this part so that your account stands out.
You might choose to share links that can demonstrate your account’s popularity if it’s of general interest. You may, for instance, link to features or mentions on trustworthy news sites.
Another reason you might want to get verified on Facebook is if fake accounts are putting your account’s credibility in danger. If fake accounts have already started to appear, you might include sources to support your assertion.
You could also include links to your other accounts to show your massive social media presence or add more comments if you wish.
Step 4: Now you Wait
You can only wait at this point since your request for Facebook verification was submitted. Facebook does not promise a response time; it may take anywhere between 48 and 45 days. Expect the process to take longer if you want to verify a business account on Facebook because Facebook will need to manually check the submitted documents for legitimacy.
What happens if Facebook rejects my application?
Remember that even if you meet the requirements for basic verification, it is not a guarantee that you will be verified. Facebook may decide to reject your application anyway without giving you a reason. After 30 days, you might choose to reapply for verification if this occurs. But make sure you work harder this time to increase your chances of being verified.
In the event that Facebook rejects your application, the following options are available:
- Try contacting Facebook support to learn more about the reasons behind the denial of your application. If you find this information, you’ll be able to apply again knowing exactly what to do to get verified.
- In addition, to increase your Facebook marketing activities, keep up a regular posting schedule and produce more high-quality content.
- Make sure to increase your presence on other social networks where your brand may have accounts. Additionally, doing this will increase your likelihood of being verified on such platforms.


