The newly released macOS Ventura focuses on enhancing the user experience and includes features such as Stage Manager, improved security and privacy control, intuitive navigation in apps, and a more powerful Spotlight search experience. It features a revamped desktop experience, with changes in the system settings, and improvements to the communication apps such as Messages and Facetime. The macOS Ventura offers a comprehensive experience for professional Mac users with continuity features.
The recently unveiled version of macOS has reduced extraneous distractions and clutter to help you get down to business. The macOS Ventura seamlessly combines easy-to-use features, and unique design to create a sophisticated OS that provides an exceptional user experience while keeping the user’s privacy and security at the forefront.
Also Read: Best Apple Laptop In India Ranked
How To Install macOS 13 Ventura Without Developer Account
Follow along to experience the new macOS Ventura Developer Beta on your supported mac device. Here are the steps to download and install macOS Ventura beta without owning a developer account.
List of Macs that support macOS Ventura:
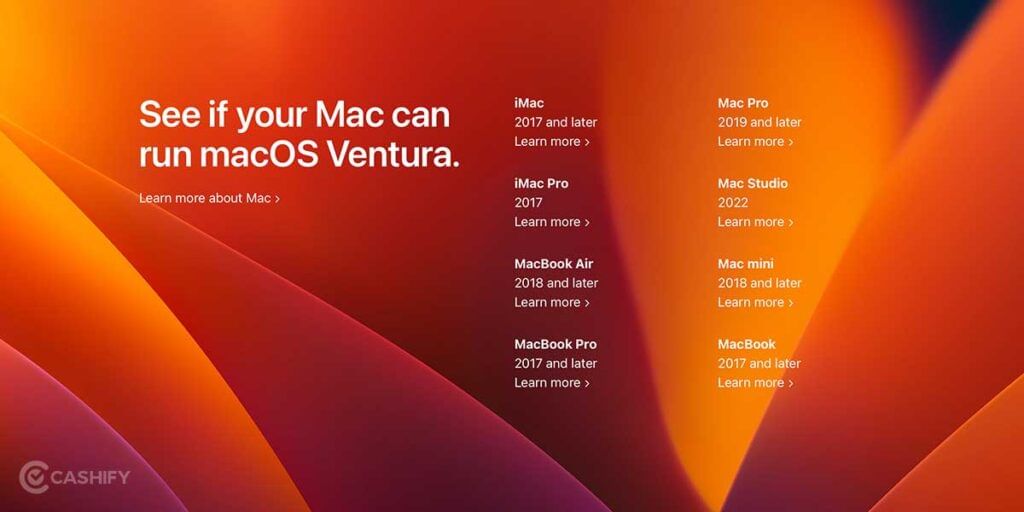
Check out the list (in the image above) unveiled by Apple that elicits the devices that support the latest release of macOS Ventura. The OS upgrades are always critical, and “Preventions are always better than cures”. But before starting the update process we will always recommend you backup your mac device first.
Also Read: How You Can Install macOS On Your Windows PC
Pre-requisites before updating your Mac to the new operating system:
Backup Your Mac:
There are 2 efficient ways to backup your mac:
- Either by using Time Machine (or)
- With the help of your iCloud account
1. Back up your Mac using Time Machine:
Time Machine is the built-in service available on your Mac to take local backups. With the help of Time Machine, you’ll be able to back up your documents, applications, photos, and music albums automatically.
Follow along with the steps that are mentioned for successful backup:
- First of all, plug an external drive such as a USB or a Thunderbolt device into your Mac.
- And then, head to the System Preferences and click on the Time Machine icon.
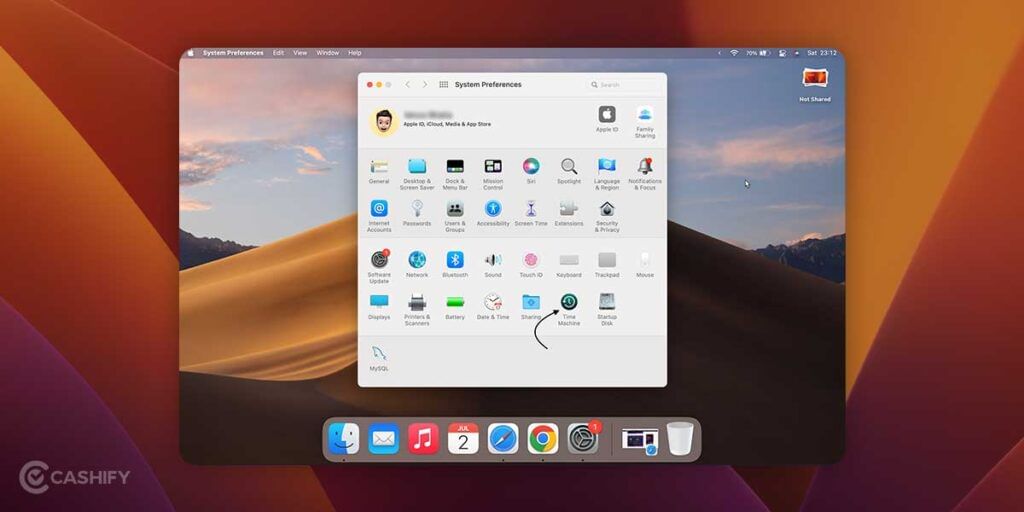
- Now click on “Select Backup Disk” to create the backup on the selected disk.
- By selecting the name of the disk, you’ll be prompted with the “Use Disk” option, and your mac will start creating a backup on its own.
2. Creating a backup with iCloud:
Your iCloud account allows you to store your local files on your iCloud drive on the go. You can choose to extend the storage capacity from the default-free 5 GB capacity. iCloud makes the backup accessible across all the devices that can access the internet, which is why we think it is the best way to create backups.
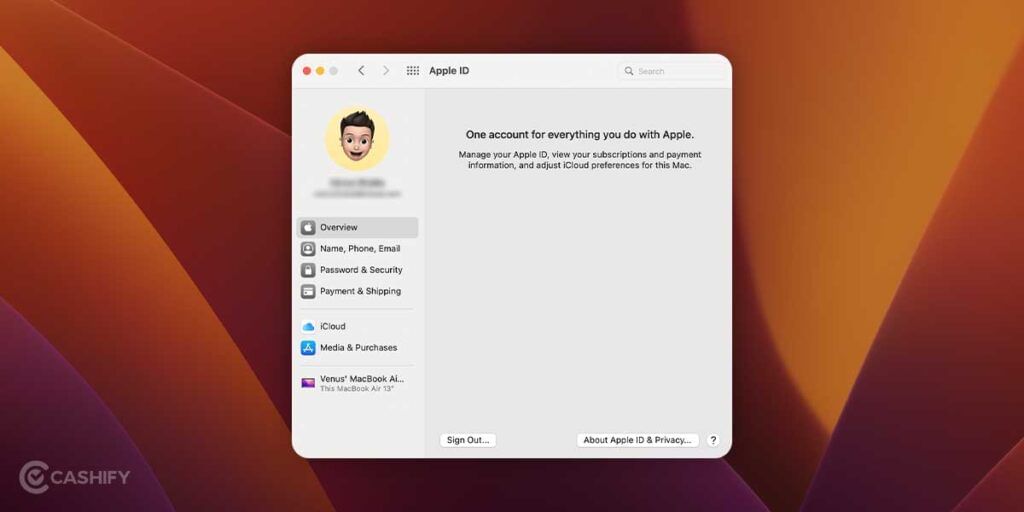
- To initiate, we will require you to reach out to the ‘System Preferences’ on your Mac.
- Clicking on the Apple ID icon will lead you to your Apple ID management, where you find the ‘iCloud’ in the left menu.
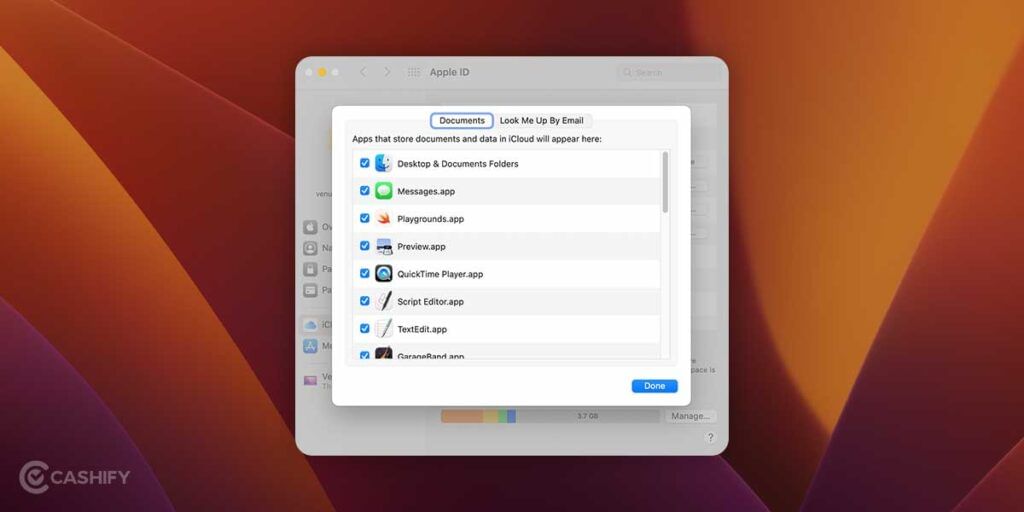
- Open the iCloud Drive “Options” and tick mark all the documents that you would like to back up. And tap Done, once you’re done finalizing it.
Now, once your data is backed up securely, we can look into the ways of downloading the beta version of macOS 13 Ventura.
Also Read: Best Free Mac Games In 2022 To Keep Your Boredom Away
How to Download and Install macOS Ventura:
You’re required to have the developer profile to download the developer betas. But don’t sweat, there is a workaround as well. We will get the beta profile from a third-party source as follows:
1. Head out to the Beta Profiles website on Safari. (The website recommends Safari web browser for downloading Beta profile)
2. Navigate to the macOS beta profile tab, and click on ‘Install Profile’ button on the website under macOS 13.
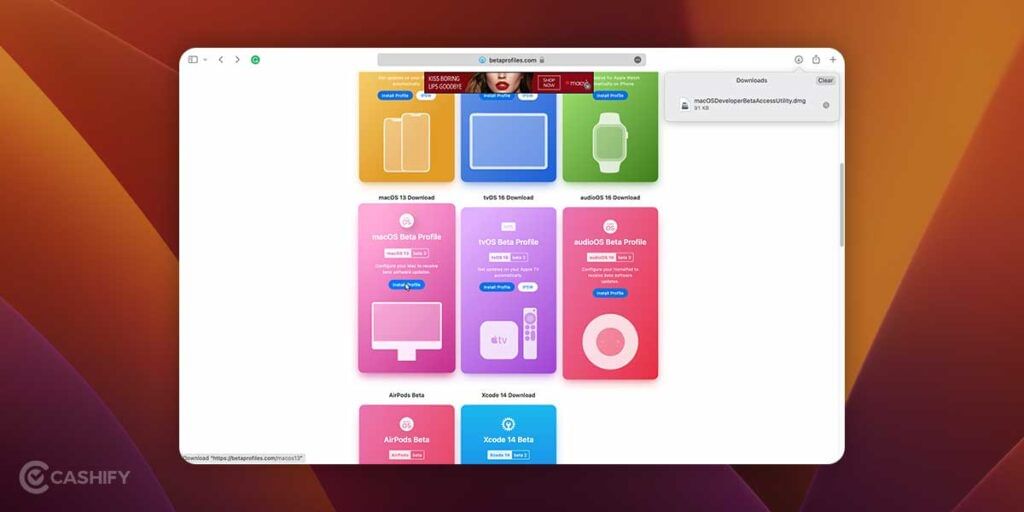
3. Now once that .dmg file is downloaded, go to the downloads folder and double-click on it, you will be redirected to the developer beta access utility.
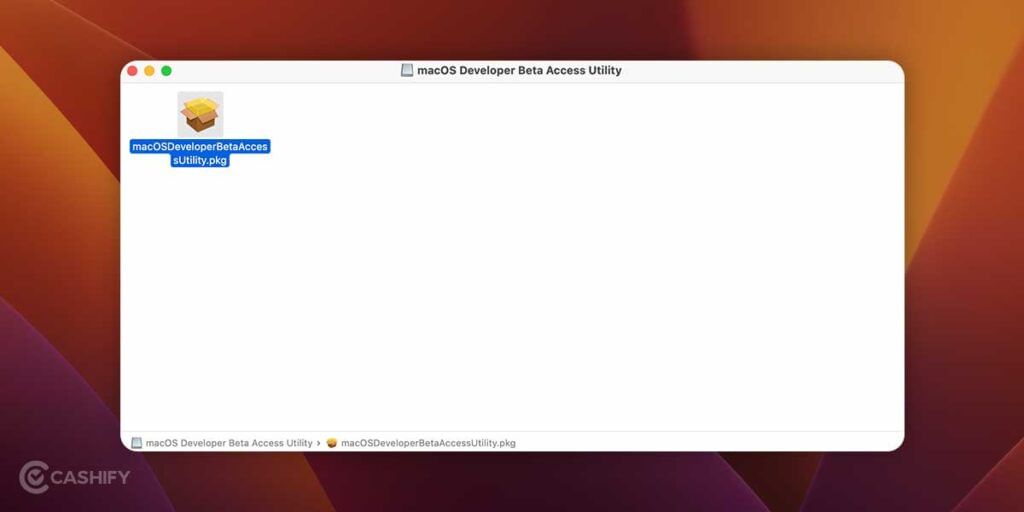
4. Opening it would guide you to the complete installation of the beta profile. You are required to go through the license agreement and “Tap on Agree”.
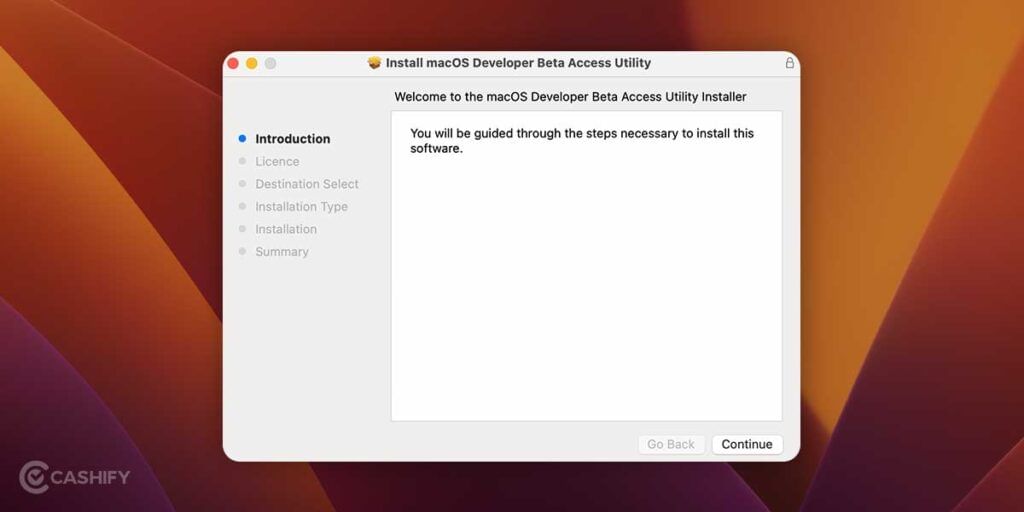
5. After which, you should leave the destination path as it is (the Macintosh HD drive) and click on next.
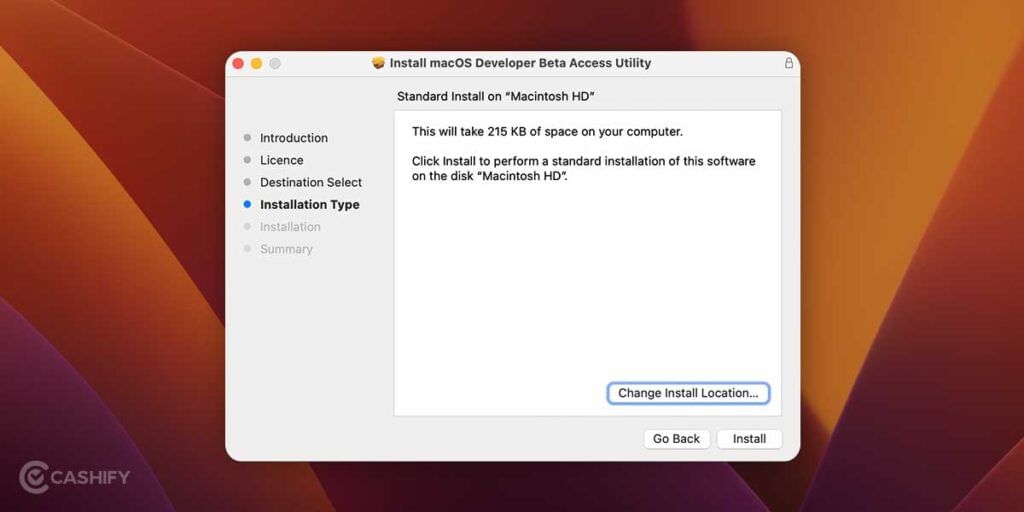
The proceeding step would finally be the one where you install the profile. It would require you to enter your password or biometrics to authenticate. Once done the installation process would be completed.
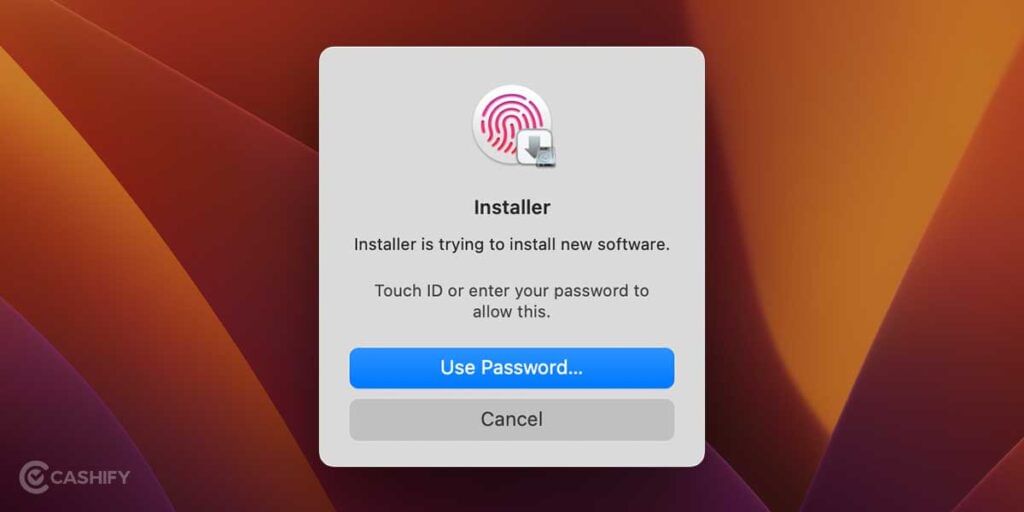
6. Once the beta profile is installed successfully, the following dialogue box will appear:
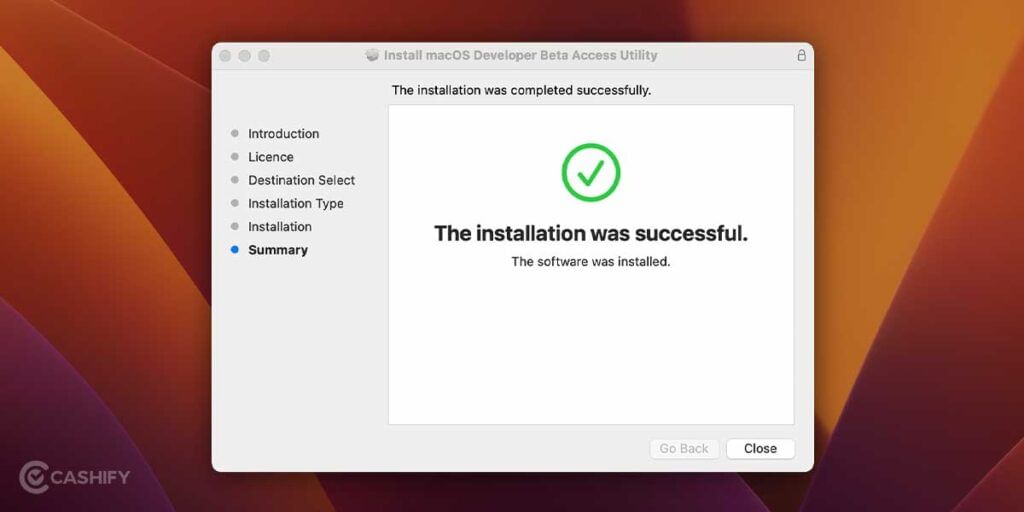
7. Now that you have a beta profile installed, you don’t need to do a thing. Your mac will automatically check for the updates and prompt you if there are any. (We recommend rebooting your Mac if there are no such prompts triggered)
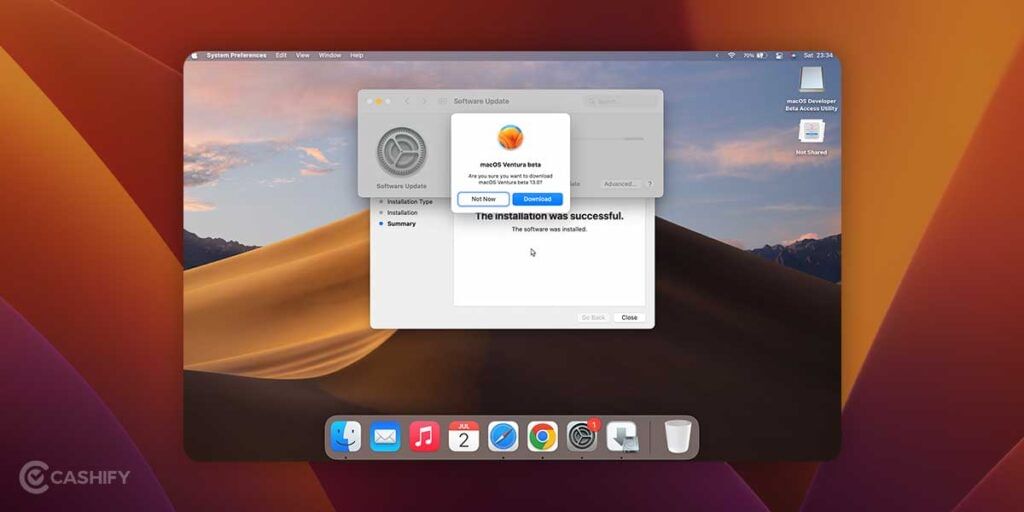
8. If the System Update prompt does not appear for a while, you can manually check for software updates. To do so navigate to ‘System Preferences’ and go to ‘Software Update’. The MacOS 13 Beta will be available to download and install.
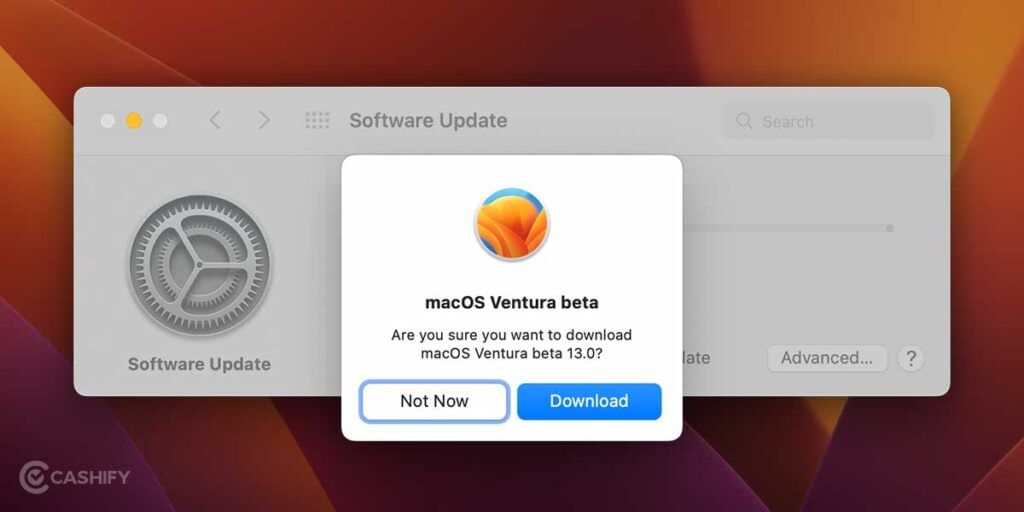
10. After Clicking that Download button, the installer would initialize the download process. Once it is done, you can click on “Install” and upgrade to macOS 13. Please keep in mind, that the installation could take an ample amount of time.
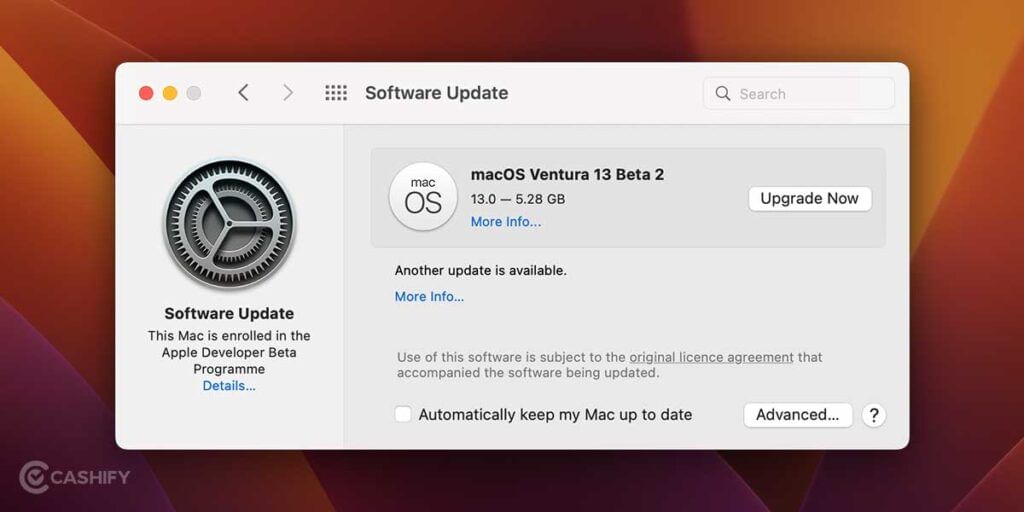
There you go! You have upgraded to the newly released macOS Ventura on your system.


