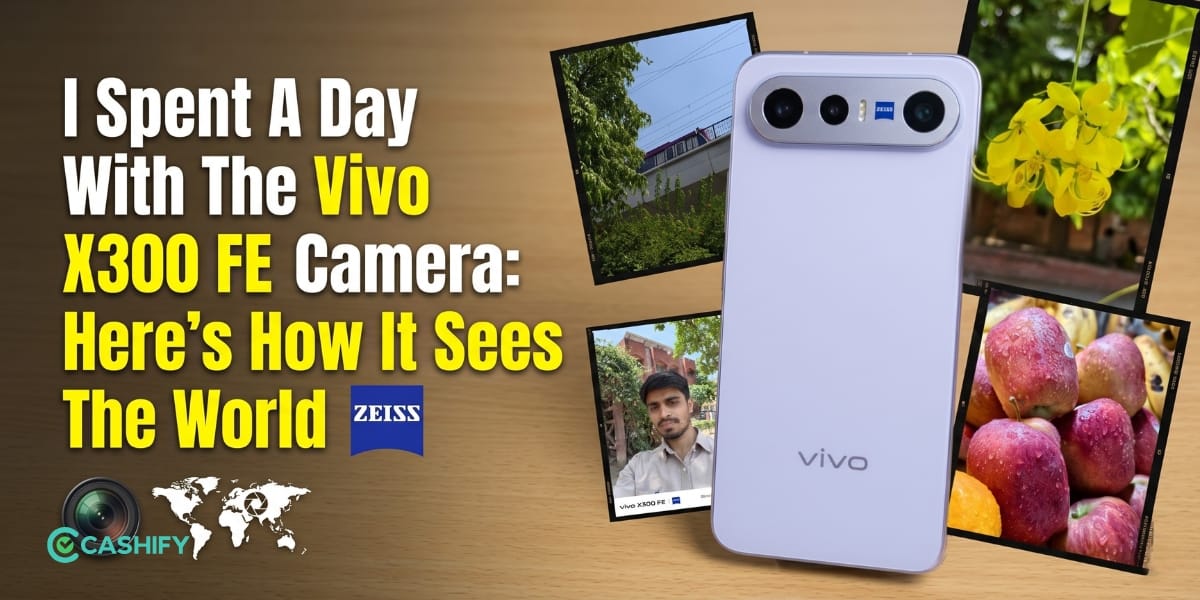
Vivo X300 FE already takes amazing shots straight out of the box. But, you can always make it better if you know all the Vivo X300 FE Best Camera Settings mentioned in this guide. It’s because the default processing pushes colours and sharpness too far in many situations.
A few changes inside the camera app can completely transform the results. This guide explains the best settings, focal lengths, ZEISS modes, portrait tricks, video tweaks, and hidden tools. This will help you capture amazing, clean shots that are more cinematic.
Also Read: Vivo X300 Ultra Vs Vivo X300 Pro: Price, Specs, Performance, Camera, More!
The First Settings You Should Change
Before shooting anything, open the camera settings and adjust these options.
Switch Colour Style To ZEISS Natural
The default Vivid profile can make your photo extra saturated. You will notice that the greens are too bright, skin tones shift warmer, and the sky can look artificial.
ZEISS Natural keeps colours balanced and realistic. The photos gain a softer DSLR-style appearance that also edits better later. You can use the Vivo X300 FE camera for good street photography, portraits, food shots, travel, and even indoor lighting.
Reduce Sharpness For A Cleaner Look
Most phones add extra digital sharpening. The result looks crunchy once you zoom in. If you lower the sharpness, it creates smoother textures and more natural details. This will help in areas like trees, hair, skin texture, buildings, night photography, and more. The difference becomes obvious during daylight shots.
Best Portrait Settings On Vivo X300 FE
You should stop using the default focal length for everything and try these instead:
Use 50mm For Natural Portraits

50mm gives the most balanced perspective. All the faces stay natural and proportions look realistic. It is best for casual portraits, street candids, indoor shots, and casual photos. This focal length feels close to how human eyes see the world.
Also Read: Motorola Razr 70 Ultra Vs Razr 60 Ultra: Price, Specs, AI, Performance, More!
Use 85mm For DSLR-Style Compression
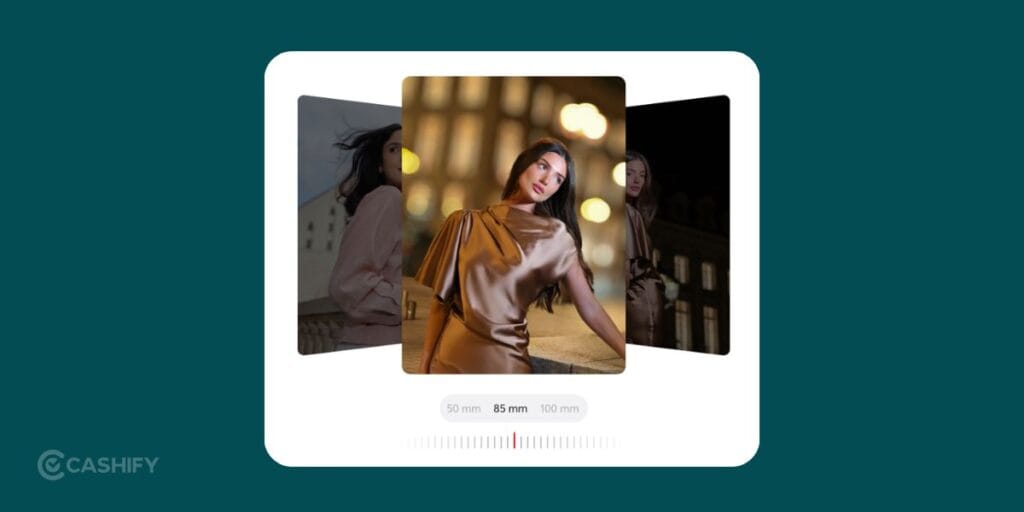
85mm creates strong background compression and creamy blur. All the faces appear slimmer, backgrounds melt away, and subjects stand out instantly. It is good for outdoor shots, fashion, evening lighting, and cafe photos. This is the focal length that creates the “professional camera” vibe.
Use 100mm For Detailed Close-Ups

100mm works brilliantly for tight framing and texture-heavy shots. It is good for jewellery, eyes, hands, street, food, and wildlife closeups. The background separation here looks extremely cinematic.
Best ZEISS Bokeh Styles For Every Situation
The ZEISS lens simulations on the Vivo X300 FE can dramatically change photo mood. It’s important for choosing the correct one.
ZEISS Biotar For Forest And Nature Photos
Biotar creates the famous swirly background effect. Leaves and sunlight begin rotating around the subject in a very cinematic way. It is best for parks, forest trails, gardens, and nature portraits. This style gives photos a true DSLR lens character.
ZEISS Sonnar For Creamy Background Blur
Sonnar smooths distracting backgrounds into soft creamy blur. You can use this for busy backgrounds and portraits in crowded places. This is because the skin tones also appear softer here.
ZEISS Distagon For City Lights
Distagon creates geometric-shaped bokeh around lights. Street lamps and neon signs gain a dramatic cinematic appearance. You can use this for night streets, rainy roads, city skylines, urban portraits.
ZEISS Cinematic For Movie-Like Videos
This mode uses a wide cinematic crop and oval-shaped blur. It is just like anamorphic cinema lenses. This is good for travel reels, walking videos, night sequences, storytelling, and more. The footage instantly looks more premium.
Also Read: Vivo T5 Pro Alternatives: Top Picks, Price, Specs, Performance, More!
Best Setting For Realistic Blur
Inside portrait mode, tap the “f” icon and manually control background blur.
Most people drag it all the way down to f/0.95. That usually ruins edge detection around hair and glasses. Instead, you can use these ranges:
- f/2.8
- f/3.2
- f/4.5
These values create blur that looks natural instead of fake.
Best Camera Settings For Street Photography

Street photography needs speed and clean framing. The Vivo X300 FE includes a Humanistic Street Photography mode. Let’s see how you can use it:
- You can set the camera shortcut to launch after double-pressing the volume button. This helps capture moments before they disappear.
- 35mm remains one of the best focal lengths for street photography. It captures the subject plus enough environment to tell a story. It is good for markets, traffic, cafe, public transport, street performers, and more.
- For moving subjects, keep shutter speed at 1/125s or faster. This freezes motion and keeps people sharp while walking.
Best Settings For Travel Photography
Travel photos should capture both the person and the location naturally.
- 23mm captures wide scenery while keeping the subject prominent. It is good for monuments, beaches, mountains, city, and architecture.
- You can try the Positive Film. Positive Film creates vibrant travel colors and dreamy tones. It works beautifully during golden hour.
- The B/W filter creates moodier photos that suit urban environments. It is good for rainy roads, subway, street vendors, old buildings, and more.
Also Read: OnePlus Nord 6 Best Alternatives: Price, Specs, All Details!
Best Low-Light Camera Settings
Night photography can easily become noisy and overprocessed on phones. The right settings fix most of that.
- Night Mode controls flare and grain much better than standard auto mode.
- Pro Mode gives far more control once lighting becomes difficult.
Recommended settings
- ISO: 50–200
- Shutter speed: 2–10 seconds
- Tripod: Recommended
Lower ISO keeps noise under control. Longer shutter speed captures cleaner detail.
Best Video Settings On Vivo X300 FE
The video quality becomes excellent once the correct resolution and frame rate are selected.
- 4K 60fps gives the best balance between smooth motion and detail.
- The ultrawide lens drops to 1080p quality.
For professional-looking footage, stay mainly on the primary sensor.
Try Cinematic Bokeh Video Mode
This mode tracks eyes while maintaining shallow depth of field. The effect looks surprisingly close to mirrorless camera footage.
Hidden Settings Most People Ignore
These small changes improve composition and editing flexibility immediately.
Enable Grid Lines
Grid lines help align shots properly and improve framing.
They are extremely useful for landscapes, buildings, symmetry shots, and horizon alignment.
Turn On Level Indicator
The level tool prevents tilted photos. This matters during beach shoots, architecture, flat-lay photos, wide landscapes.
Enable RAW Lighting
RAW Lighting preserves highlight and shadow detail in difficult lighting. Photos retain far more editing flexibility later.
Final Camera Setup Recommendation
If you want the best overall setup for DSLR-like photos on the Vivo X300 FE, use this combination:
- ZEISS Natural colour profile
- Reduced sharpness
- 50mm or 85mm portrait focal length
- f/2.8 to f/4.5 blur range
- Grid lines enabled
- 4K 60fps video
- Night Mode for low light
These tweaks produce cleaner detail, better skin tones, and more realistic blur. This is a far more professional image style.
Final Take
The Vivo X300 FE is a very compact phone that takes nice shots. But with these Vivo X300 FE Best Camera Settings, you can take it to the next level. If you have any doubts or queries, feel free to drop them in the comment section below. I would love to hear you out.
If you’ve just bought a new phone and don’t know what to do with your old phone, then here’s your answer. Sell old mobile to Cashify and get the best price for it. If you are planning to buy a new phone, check out Cashify’s refurbished mobile phones. You can get your favourite phone at almost half price with six-month warranty, 15 days refund and free delivery.