I have a Vivo phone, I know that it has ZEISS powers, but I don’t know how to click DSLR-level clicks: Did you relate to this? Well, you are just one of us. A great camera phone is nothing without your camera skills. But worry not, we are here to help you get ultra-filmy photos and videos, even if you’re a noob. Yes, in this blog, we present you the Vivo X200 Pro best camera settings guide, in which we will discuss all the pros and cons of this camera, the dos and don’ts, and describe all the pro modes to help you take the best shots. So, without further ado, let us begin.
Also Read: Vivo X300 Best Camera Settings For Best Quality: Full Guide
Vivo X200 Pro Best Camera Settings And Modes Explained
Before we begin any further in this Vivo X200 Pro best camera settings guide, let us first explain to you all the modes and camera settings that this phone has.
| Camera Settings Guide | Details |
| Photo Mode | 50 MP ZEISS True Colour main camera (Sony LYT-818 sensor). Uses 4-in-1 pixel binning for 12.5 MP default shots with High Dynamic Range. |
| Portrait Mode | Features ZEISS Multifocal Portrait with 5 focal lengths: 23mm, 35mm, 50mm, 85mm, and 135mm. Includes iconic bokeh styles like Biotar, B-speed, and Sonnar. |
| Ultra-Wide Mode | 50 MP camera with a 119-degree field of view and autofocus for wide landscapes and group shots. |
| Telephoto / Zoom Mode | 200 MP ZEISS APO Telephoto (Samsung HP9 sensor). Offers 3.7× optical zoom, 10× “lossless” zoom, and up to 100× digital zoom. |
| Night Mode | Enhanced by the vivo V3+ Imaging Chip and Sony LYT-818 sensor for superior low-light clarity and 4K HDR Night Video. |
| Pro Mode | Provides full manual control (ISO, Shutter, WB) over all three rear lenses. Supports RAW and Super RAW formats. |
| Super Landscape Mode | An industry-first mode that optimises settings specifically for horizons, architecture, and wide-scale nature photography. |
| High Resolution Mode | Allows full-resolution capture at 200 MP (Telephoto) or 50 MP (Main/Ultra-wide) for maximum cropping flexibility. |
| Stage Mode | Specifically tuned for concert environments, managing bright stage lights and tracking fast-moving performers at a distance. |
| Macro Mode | Telephoto Macro capability using the 200 MP lens, allowing for incredible detail on tiny subjects from a comfortable distance. |
| Slow-Motion | Supports up to 4K at 120 fps slow-motion recording for cinematic action shots. |
| Cinematic Video | Supports 4K 60fps HDR Dolby Vision and 4K Cinematic Portrait video across multiple focal lengths. |
| Selfie Mode | 32 MP front-facing camera ($f/2.0$) with autofocus, optimised for sharp facial details and skin tones. |
Also Read: Vivo X200 Pro Review – Pro Flagship In Every Sense!
Vivo X200 Pro Best Camera Settings Guide
Now, time to reveal the Vivo X200 Pro best camera settings to you. So, let us begin one by one with the top modes and then the hidden gems as well.
Here are Vivo X200 Pro’s best camera settings
Set ISO Range Around 100
This is the best ISO for your camera. If you want to utilise the pro-level shots of Vivo X200 Pro best camera settings, then your ideal ISO range should be around 100, a little up or a little down.
Use 85mm Portrait Mode
For the best portrait shots, switch to the 85mm portrait setting, or 2x setting, and you will get the best portrait clicks.
Night Mode For Low-Light Shots
Always make sure that for dim lighting and nighttime shots, use Night mode.
Use Auto-Focus
If you want to utilise the Vivo X200 Pro’s best camera settings guide to the fullest, then the Auto-focus mode should be your choice. Usually, we would not suggest the auto-focus mode to any pro-level photographer. But if you are new to a Vivo phone and don’t know much about camera settings, then use auto-focus and get the best automatic clicks.
Skip Ultrawide, Try Super Landscape
Moving out of frame? Well, if you are thinking that shifting to Ultrawide mode is a better option, there is a chance. Try using landscape mode; this will give you an uncompromising quality, sometimes better than the Ultrawide mode.
Shoot Videos At 60FPS UHD or 4K
For realistic videos, 60FPS videos is better. For professional and stable videos, use 4k settings.
Use Pro Modes
Vivo X200 Pro has many Pro modes like Slow-Mo, Time-lapse, Pro videos, etc. Turn these on, and you will see the real magic of this phone getting unleashed.
Also Read: Google Pixel 10a Best Camera Settings: All Pro Mode Explained
Pros And Cons Of Vivo X200 Pro Camera
Now, it is also important to have a look at some of the pros and cons of this phone’s camera. No doubt. Vivo X200 Pro will give you some of the best and most clear DSLR-level shots, thanks to its ZEISS settings and our Vivo X200 Pro best camera settings guide, but there are some cons to avoid too. So, here are all the pros and cons of the Vivo X200 Pro’s camera:
Pros Of Vivo X200 Pro
- Massive 200MP Telephoto: The industry-first ZEISS APO sensor offers unparalleled 3.7x optical and 100x digital zoom clarity.
- Sony LYT-818 Main Sensor: It provides a custom 1/1.28-inch sensor that significantly boosts HDR performance and low-light capture.
- ZEISS T Coating: It effectively reduces ghosting and flare for cleaner, true-to-life images.
- V3+ Imaging Chip: A dedicated chip enabling 4K 60fps Cinematic Portrait Video and 10-bit Log recording.
- Telephoto Macro: Enables stunning close-ups at 15cm with the periscope lens.
- Multifocal Portraits: Covers six focal lengths (23mm to 135mm) for professional-grade bokeh styles.
- Stage Mode: Optimised for concerts, ensuring sharp shots of performers even from a distance.
Cons Of Vivo 200 Pro Camera
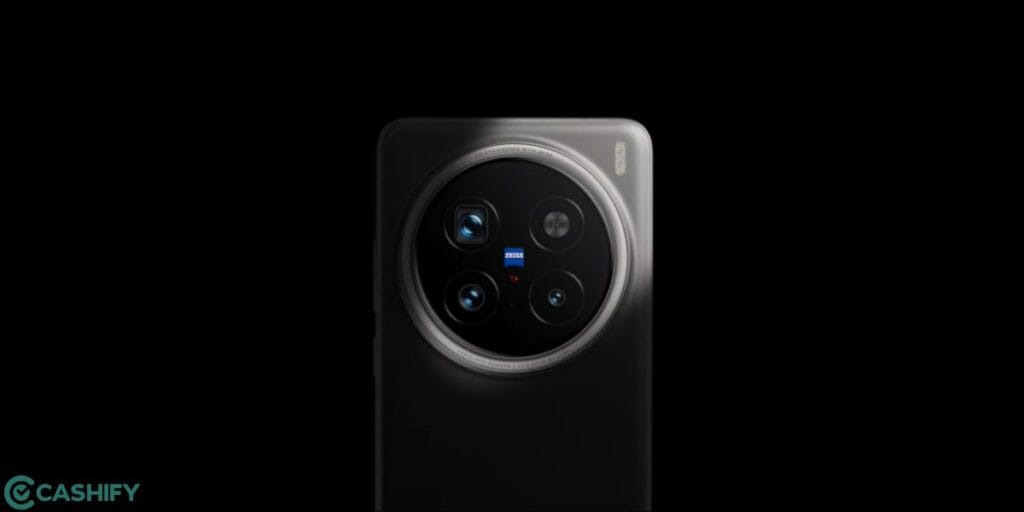
- Large Camera Bump: The massive sensors result in a significant physical protrusion on the back.
- Fixed-Focus Selfie: The 32MP front camera lacks autofocus, unlike the advanced rear array.
- Heavier Build: High-end glass optics contribute to a weight of up to 228g.
- Main Sensor Size: The primary sensor is slightly smaller (1/1.28″) compared to the 1-inch sensor in the previous X100 Pro.
Also Read: Best Camera Settings For Motorola Signature: All Modes Explained
End Note
That’s it from this Vivo X200 Pro best camera settings guide. Mastering your smartphone camera is less about the hardware and more about how you use it—and the Vivo X200 Pro proves exactly that. With the right settings, a bit of experimentation, and an eye for detail, you can transform everyday shots into stunning, professional-looking images. Whether you’re capturing portraits, landscapes, or low-light scenes, this guide equips you to make the most of every feature. Keep practising, explore different modes, and don’t hesitate to tweak settings based on your environment. Stay tuned for more such guides.
If you’ve just bought a new phone and don’t know what to do with your old phone, then here’s your answer. Sell old mobile to Cashify and get the best price for it. If you are planning to buy a new phone, check out Cashify’s refurbished mobile phones. You can get your favourite phone at almost half price with six-month warranty, 15 days refund and free delivery.