Screen recording means recording whatever happens on your computer screen. You can then save it as a video and even share it with somebody. It is just like recording a video on your phone. In this case, instead of using the camera, you record what you see and do on your Windows 11 PC.
Many people need screen recording for different reasons. If you are a student, you might need to record online classes to watch them again later. Office workers record meetings and presentations to remember important points. Gamers record their best gameplay to share with friends or even upload it online. You can even create tutorial videos for your YouTube channel.
Windows 11 has many easy ways to record your screen. In this article, you will learn the simplest methods to do screen recording. By the end, you will know which tool is best for you and how to use it easily.
Also Read: How To Raise A UPI Complaint: Step By Step Guide
Importance Of Recording Screen In Windows 11
It’s really useful if you know how to record screen in Windows 11.
- You can create tutorials as they become super easy if you have screen recording. Instead of writing things down for the user, you can just record your screen. This saves time and helps others understand better.
- Screen recording is also very helpful for online education. Teachers can record their lessons so students can watch them anytime. Students can record online classes and revise them before exams. This makes learning flexible and less stressful.
- In offices and businesses, screen recording improves communication. If you need to explain something to a teammate, showing it on screen is clearer than just explaining in words. Employees can watch training videos, presentations, and demos whenever they want.
- You can record video calls with family, online events, or important announcements and watch them later.
- Gamers and content creators use screen recording every day. They record their gameplay, make YouTube videos, share highlights, and build content for their channels using screen recording.
- Screen recording also helps in solving technical problems. If your computer has an issue, you can record the problem and show it to the tech support team. This makes it easier for them to understand and fix the problem.
Now that we know the uses of screen recording, let’s check out how to do it.
Top Ways To Record Screen In Windows 11 (2026)
Now, let us look at the best and easiest ways to record your screen in Windows 11. Each method is explained simply so you can choose the one that suits you best. These includes:
- Using Xbox Game Bar (Built-in Tool)
- Using Snipping Tool Screen Recorder
- Using Microsoft Clipchamp
- Using Free Third-Party Software
Method 1: Using Xbox Game Bar (Built-in Tool)
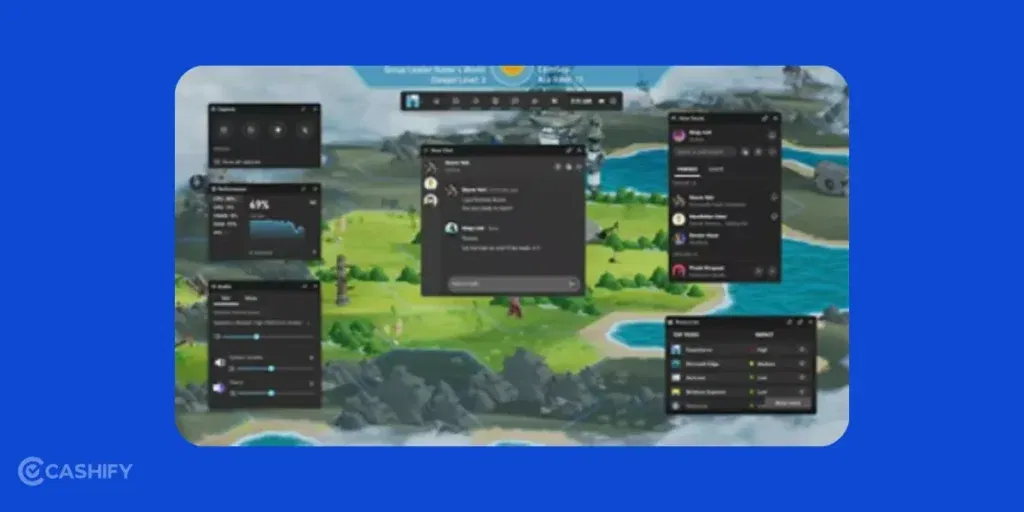
Xbox Game Bar is a free tool that already comes with Windows 11. Even though it is called “Game Bar,” it is not only for games. You can also use it to record apps, browsers, and videos.
It helps you record videos, take screenshots, control audio, and check system performance. You do not need to download or install anything extra.
Steps To open And use Xbox Game Bar:
- Press the Windows key and search for Xbox Game Bar settings.
- Open it and make sure the switch is turned ON.
- Open the app or window you want to record (browser, game, or software).
- Press Windows key + G. The Xbox Game Bar will appear on the screen.
- Find the Capture box with the camera icon.
- Click the Record button or press Windows + Alt + R.
- Do whatever you want to record.
- To stop recording, click Stop or press Windows + Alt + R again.
Your video will be saved automatically in Videos > Captures.
Note: It can record apps, games, and browser windows. But it cannot record the desktop or file explorer.
| Pros | Cons |
|---|---|
| Already installed on Windows 11 | Cannot record the full desktop |
| Very easy to use | No video editing options |
| Good video quality | May slow down older computers |
| Can record audio | |
| Saves videos in MP4 format |
Also Read: How To Report Fraudulent Mobile Connections With Sanchar Saathi?
Method 2: Using Snipping Tool Screen Recorder
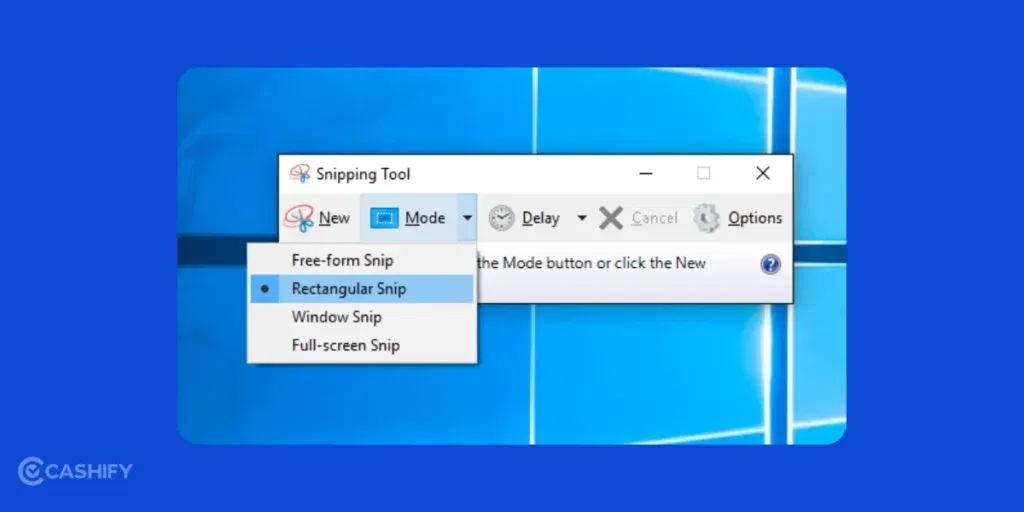
The Snipping Tool in Windows 11 is not just for screenshots anymore. It can now record your screen too.
Steps To Record Screen:
- Press the Windows key and search for Snipping Tool.
- Open it and click the video camera icon.
- Click New or press Windows + Shift + R.
- Select the area of the screen you want to record.
- Click Record to start.
- Click Stop when finished.
- Preview the video and click Save.
This method is best for recording a small part of the screen. You can also make tutorials and hide private information. The only limitation is that there is no video editing, and only basic features are available.
Method 3: Using Microsoft Clipchamp
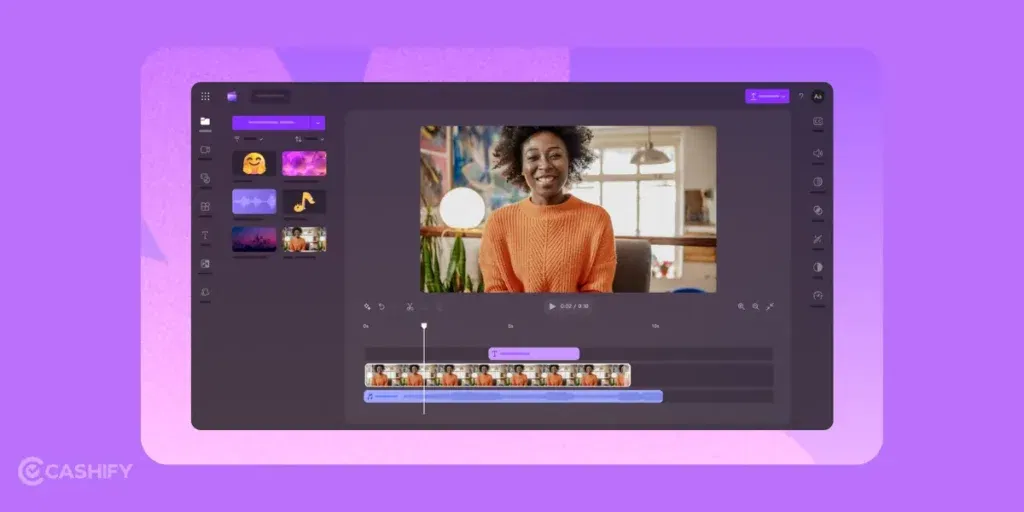
Clipchamp is a free video editor that comes with Windows 11. It also allows screen recording. You can record your screen and edit the video in the same app.
Steps To Record Screen:
- Open Start Menu and search for Clipchamp.
- Sign in with your Microsoft account if needed.
- Click Create a video or Record & Create.
- Choose Screen recording.
- Select what you want to record (screen, window, or tab).
- Turn on audio if needed.
- Click Start recording.
- Stop recording when done.
You can now edit the video by trimming, adding text, music, or effects. Click Export to save your final video. It is best for YouTube Videos, school projects, presentations, or tutorials. You can record and edit together. You can even add text, music, or effect. This app is free to use and you get good quality output.
Method 4: Using Free Third-Party Software
Some users want more features than built-in tools provide. For them, third-party software is useful. OBS Studio is a powerful free software used for screen recording and live streaming. Many YouTubers and gamers use it.
Simple Steps To Use OBS:
- Download and install OBS Studio.
- Open it and complete the setup wizard.
- Click + under Sources.
- Choose Display Capture or Window Capture.
- Enable audio if needed.
- Click Start Recording.
- Click Stop Recording when done.
Videos are saved in the Videos folder by default.
Third-party tools are amazing when you want to record screen and webcam at the same time. You can also make long recording to stream on YouTube or Twitch.
| Advantages | Disadvantages |
|---|---|
| Has many advanced features | Needs to be installed |
| Records high-quality videos | Harder for beginners to use |
| Free and open source | Uses more system power |
Also Read: iOS 26 Vs Samsung One UI 8: Shocking Differences You Didn’t Expect!
FAQs (Frequently Asked Questions)
Is screen recording free in Windows 11?
Yes. Windows 11 has free tools like Xbox Game Bar, Snipping Tool, and Clipchamp.
Can I record screen with audio?
Yes. You can record system sound, your voice, or both.
Can I record a specific area?
Yes. Snipping Tool and OBS allow area recording.
Does screen recording slow the computer?
It may slow older computers. Close other apps to avoid lag.
Where are recordings saved?
Mostly in the Videos folder. Xbox Game Bar saves them in Captures.
Which is best for beginners?
Xbox Game Bar is the easiest for beginners.
Is screen recording safe and legal?
Yes, but do not record private calls or copyrighted content without permission.
Conclusion
In the end, knowing how to record screen in Windows 11 can give you a slight edge and help you do plenty of things. If you want quick recording, use Xbox Game Bar. For recording a small area, use the Snipping Tool. If you want to do editing and professional videos, choose Clipchamp. For advanced needs, OBS Studio is the best choice.
Let me know if you have any doubts about the methods I have mentioned here. I would love to help you out!
If you’ve just bought a new phone and don’t know what to do with your old phone, then here’s your answer. Sell old mobile to Cashify and get the best price for it. If you are planning to buy a new phone, check out Cashify’s refurbished mobile phones. You can get your favourite phone at almost half price with six-month warranty, 15 days refund and free delivery.