The Vivo X300 Pro is equipped with a highly capable camera system, but the real magic happens when you understand how its settings work. Instead of relying only on Auto Mode, using the right controls in Pro Mode lets you capture photos that look sharper, cleaner, and more professional. In this blog, I will share the best camera settings for the Vivo X300 Pro to help you take professional-like shots. So, let’s begin.
Also Read: iQOO 15 Vs Vivo X300 Pro: The Winner Will Surprise You
Vivo X300 Pro Camera Specs
Before we talk about the various modes and best camera settings for Vivo X300 Pro, let us have a look at the specs:
| Feature | Details |
| Camera Setup | Front: 50MP Rear: 50MP + 50MP + 200MP |
| Aperture | Front: f/2.0 (50MP) Rear: f/1.57 (50MP) + f/2.0 (50MP) + f/2.67 (200MP) |
| Flash | Rear Flash |
| Scene Modes | Portrait, Photo, Video, Portrait Video, Snapshot, Landscape & Night, Pano, Ultra HD Document, Slo-mo, Stage, Time-lapse, Pro, Food, Street Photography, Telephoto Extender |
What Are The Best Camera Settings For Vivo X300 Pro?
To get professional-quality shots, you need to understand each setting and mode. Here’s a detailed breakdown of the best camera settings for Vivo X300 Pro:
1. Pro Mode: Your Key To Control
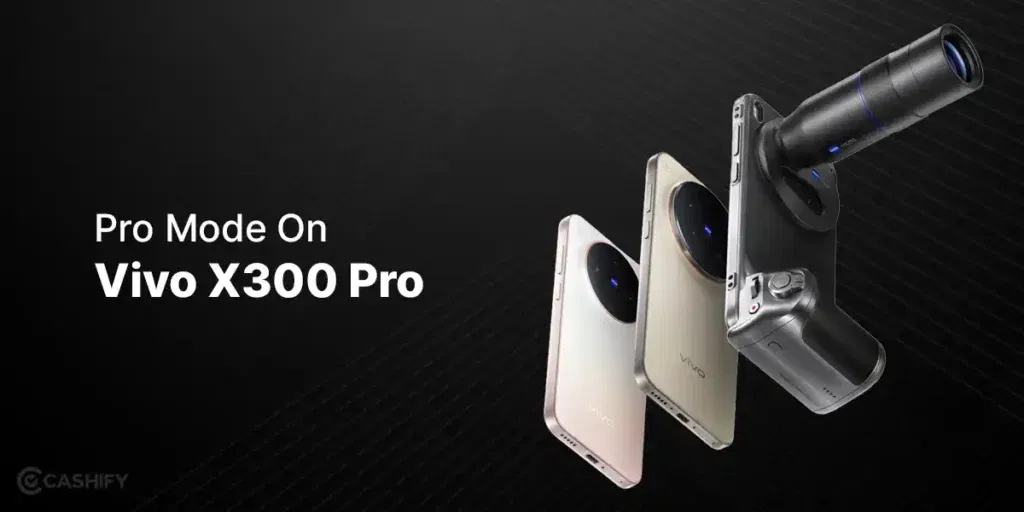
Pro Mode is where the Vivo X300 Pro truly shines. It gives you full manual control over ISO, shutter speed, white balance, focus, and metering, allowing you to fine-tune every aspect of your shot. While Auto Mode is convenient, it can’t match the precision and creative flexibility that Pro Mode offers.
Using Pro Mode is an essential step when you want to apply the best camera settings for Vivo X300 Pro.
Why use Pro Mode?
- Capture sharper and cleaner images with precise exposure control
- Adjust color temperature to match the lighting and mood of your scene
- Shoot in RAW format for advanced post-processing
- Freeze fast-moving action or create motion blur for artistic effects
Pro Tip: Always switch to Pro Mode when photographing landscapes, portraits, or night scenes. It is your best tool for professional-level control.
Also Read: OnePlus 15 Vs Google Pixel 10: What’s Better For Your Money In 2025?
2. ISO: Control Your Light Sensitivity
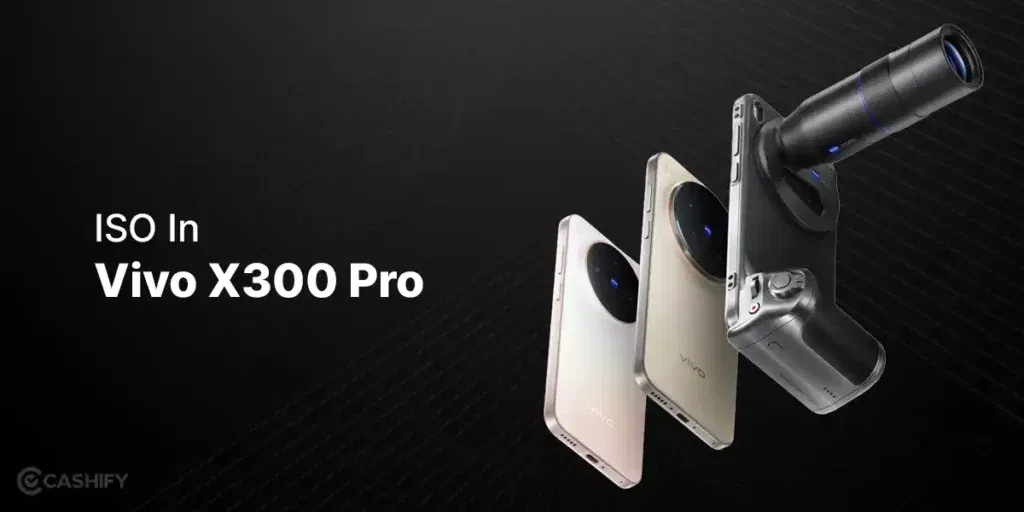
ISO controls how sensitive your camera sensor is to light. Lower ISO values produce cleaner, noise-free images, while higher ISO brightens low-light scenes but may introduce grain. Choosing the right ISO is a key part of the best camera settings for Vivo X300 Pro.
Recommended ISO settings:
- 100-200: Bright daylight or well-lit conditions
- 400-800: Indoor or cloudy settings
- 1600-3200: Low-light or night photography
Pro Tip: Start at ISO 100 and increase only if the photo is too dark, even after adjusting shutter speed. This helps you maintain image clarity.
3. Shutter Speed: Control Motion And Exposure
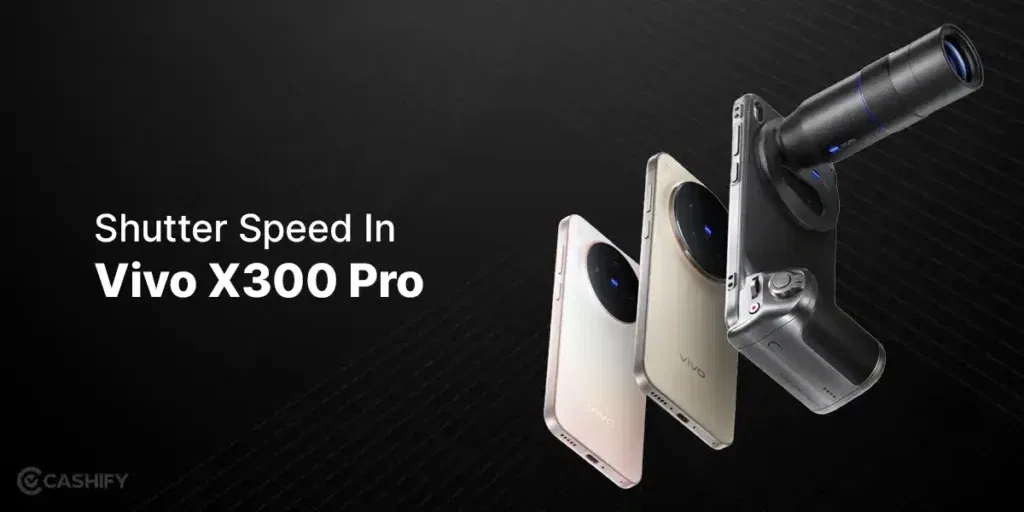
Shutter speed determines how long your camera sensor captures light. It directly affects motion blur and image sharpness. Proper shutter speed is a core part of the best camera settings for Vivo X300 Pro.
Quick guide:
- 1/100s or faster: Everyday handheld photography
- 1/125s: Moving vehicles or moderate action
- 1/500s+: Fast-moving sports or pets
- Slow speeds (1s-20s): Night skies, light trails, waterfalls
Pro Tip: Use a tripod for slow shutter shots to avoid unwanted blur and get crisp long-exposure images.
4. White Balance: Achieve Accurate Colors
White balance controls the color temperature of your images, making them warmer or cooler. Manual adjustment often produces better results than Auto WB, especially in mixed lighting. It’s an important factor when applying the best camera settings for Vivo X300 Pro.
Kelvin recommendations:
- 3000-3500K: Warm indoor lighting
- 4500K: Golden hour for warm, natural tones
- 5000-5500K: Bright daylight conditions
- 6000K+: Shade or overcast skies
Pro Tip: Adjust Kelvin manually to get accurate, natural-looking colors rather than relying solely on Auto WB.
5. Manual Focus: Pinpoint Sharpness

Manual focus lets you lock onto a specific subject with precision, which is especially useful for close-ups or macro shots. The X300 Pro provides a magnifier tool in Pro Mode, letting you inspect focus in fine detail. Additionally, having the correct focus is a must for achieving the best camera settings for Vivo X300 Pro.
Best use cases:
- Macro shots like flowers or insects
- Food photography
- Product photography
- Portraits with shallow depth of field
Pro Tip: Zoom in with the magnifier to ensure your subject is perfectly sharp, especially for small details.
Also Read: iQOO 15 Vs iQOO 13: Five Key Improvements You Must Know
6. Metering: Get Correct Exposure Every Time

Metering tells your camera how to read light in a scene. Spot metering is particularly useful when your subject needs precise exposure in high-contrast or backlit situations.
When to use Spot Metering:
- Portraits (tap on the face)
- Backlit scenes
- Sunsets or bright skies
- High-contrast landscapes
Pro Tip: Always tap on your subject to ensure it is correctly exposed, preventing blown highlights or dark shadows.
7. RAW Mode: Maximum Editing Flexibility

Shooting in RAW captures all sensor data without compression. Furthermore, this allows for more detailed post-processing. Shooting RAW is a critical step in setting up the best camera settings for Vivo X300 Pro.
Benefits:
- Recover highlights in overexposed areas
- Adjust shadows without losing quality
- Correct white balance after shooting
- Enhance details while preserving image quality
Editing apps: Snapseed, Lightroom, VSCO, Darkroom.
Pro Tip: Shoot RAW + JPEG to have an editable version and a ready-to-share version simultaneously.
8. Street Photography Mode: Fast, Crisp Shots
Street Photography mode is optimized for fast-moving subjects and spontaneous scenes. Additionally, it uses quick shutter speeds and subtle background blur to produce clean, natural-looking images.
Best scenarios:
- Busy streets or markets
- Events with moving crowds
- Action shots of pedestrians, vehicles, or animals
Pro Tip: Use this mode for candid urban photography without worrying about manual adjustments.
Also Read: Snapdragon 8 Gen 5 Vs Dimensity 9400: Gaming & Speed Verdict
9. Astrolapse Mode: Capture Night Skies

Astrolapse combines multiple long exposures to create stunning nighttime shots or star trails. Including this mode is part of the best camera settings for Vivo X300 Pro.
Recommended settings:
- Mount your phone on a tripod
- Set the interval to 4 seconds
- Use low ISO
- Choose a dark location with minimal light pollution
Pro Tip: Perfect for capturing star trails, city lights, or nighttime landscapes with cinematic results.
10. Portrait Mode + ZEISS Bokeh

The Vivo X300 Pro’s Portrait Mode utilizes ZEISS optics to create realistic bokeh effects, giving your subjects a professional look.
ZEISS bokeh styles: Biotar, Sonnar, Planar, Distagon.
Best use cases:
- Human portraits
- Pets
- Fashion and lifestyle shots
- Close-up storytelling photography
Pro Tip: Position the light behind your subject to add depth and separation from the background.
11. Vivid Vs ZEISS Natural: Color Styles
The X300 Pro lets you choose between two color styles, influencing your final image. Selecting the right mode is part of the best camera settings for Vivo X300 Pro.
- Vivid: Bright, punchy, and ideal for social media
- ZEISS Natural: Soft, realistic, and true-to-life tones
Pro Tip: Use Vivid for landscapes and food photography; choose ZEISS Natural for portraits or realistic scenes.
12. HDR & Exposure Bracketing
HDR (High Dynamic Range) balances bright and dark areas in a scene. For professional results, Exposure Bracketing in Pro Mode lets you merge multiple exposures.
How to bracket:
- Take three shots: –2 EV, 0 EV, +2 EV
- Merge them in apps like Lightroom or Snapseed for a perfect balance
Pro Tip: Ideal for high-contrast landscapes, sunsets, or scenes with bright highlights and deep shadows.
Final Thoughts
These best camera settings for Vivo X300 Pro, when used together, help you capture images that really stand out- sharp portraits, clear night shots, vibrant landscapes, and everything in between. Whether you are a beginner learning manual photography or someone upgrading from Auto Mode, these settings will help you get the best out of the Vivo X300 Pro’s incredible camera system.
Also Read: Apple iPhone Air Vs iPhone 17: Which Model Is Worth Buying In 2025?
Frequently Asked Questions
1. How to make Vivo camera quality better?
To improve Vivo camera quality, use Pro Mode for manual control, enable RAW shooting for editing flexibility, adjust ISO, shutter speed, and white balance according to lighting, and use a tripod for stability. Also, keep lenses clean, choose proper scene modes, and use ZEISS bokeh or HDR for enhanced results.
2. What is the best setting for a Pro Mode camera in Vivo X300 Pro?
For Pro Mode on the Vivo X300 Pro, start with ISO 100-400, shutter speed 1/100-1/500s, manual focus for sharp subjects, spot metering for exposure, and Kelvin white balance for accurate colors. Enable RAW for post-processing and choose appropriate ZEISS bokeh or color style depending on your scene.
3. How to use a professional camera in Vivo?
To use a professional camera in Vivo, switch to Pro Mode, manually adjust ISO, shutter speed, and white balance, and focus precisely using manual focus. Utilize RAW mode, HDR, or scene modes like Portrait or Street. Stabilize with a tripod if needed and edit photos using apps like Snapseed or Lightroom.
If you’ve just bought a new phone and don’t know what to do with your old phone, then here’s your answer. Sell old mobile to Cashify and get the best price for it. If you are planning to buy a new phone, check out Cashify’s refurbished mobile phones. You can get your favourite phone at almost half price with Six-month warranty, 15 days refund and free delivery.